
Why Do ISBM Bottles Have Uneven Wall Thickness?: Practical Technical Guide
This guide treats Why Do ISBM Bottles Have Uneven Wall Thickness? as a sequence of measurable decisions. It begins with the physical product requirement, then tests the process mechanisms that can change the bottle, and finishes with a release condition that can be documented.
Symptom mapStretch rodCorrection sequence
Ce que cet article doit prouver
Diagnose uneven wall thickness by separating preform variation, thermal imbalance, stretch-rod timing, air timing, orientation, mold cooling and cavity-specific tooling problems. A defensible baseline begins with Cut bottles at repeatable heights and measure several angles to identify exactly where material is thin and where the missing mass accumulated. The first verification method is Record cavity number and orientation on every sample. From there, the article follows only checks that can materially change the answer promised by the title. Where an exact operating value depends on the resin grade, bottle drawing, mold, or delivered machine, the approved project specification controls the final setting.
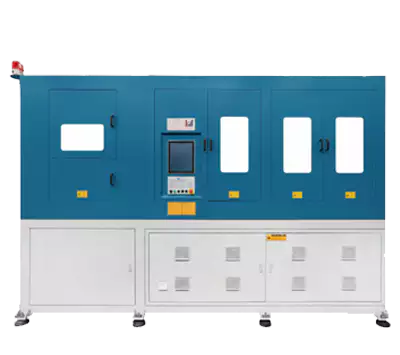
✔️ Symptom map
Cut bottles at repeatable heights and measure several angles to identify exactly where material is thin and where the missing mass accumulated. Record cavity number and orientation on every sample.
✔️ Cavity pattern
Determine whether all cavities show the same thin area or only one cavity does. Compare wall maps, bottle weights and preforms by cavity.
✔️ Preform mass
Weigh preforms and inspect length, concentricity, gate and wall profile. Check injection balance before touching blow settings.
Pour les décisions relatives à l'outillage, Ingénierie du moule de remplacement ASB-12 souligne pourquoi les interfaces dimensionnelles, les connexions de refroidissement, la géométrie de la cavité et l'alignement du transfert doivent être considérés comme faisant partie intégrante de la configuration de la machine.
Map the Thin and Thick Regions Before Adjusting Anything
Symptom map
Symptom map. Cut bottles at repeatable heights and measure several angles to identify exactly where material is thin and where the missing mass accumulated. Record cavity number and orientation on every sample. The diagnostic test should show whether symptom map can physically create the observed defect before a repair or parameter change is accepted. Record the bottle response beside the setting or measurement for symptom map; that record becomes the starting condition when symptom map is reviewed. Calling a bottle uneven without a map encourages random parameter changes.
Check Whether the Problem Follows a Mold Cavity
Cavity pattern
Cavity pattern. Determine whether all cavities show the same thin area or only one cavity does. Compare wall maps, bottle weights and preforms by cavity. The diagnostic test should show whether cavity pattern can physically create the observed defect before a repair or parameter change is accepted. If the symptom or performance target does not move as predicted, return cavity pattern to the baseline and investigate cavity pattern rather than stacking corrections. A single-cavity defect points toward local cooling, alignment, hot-runner or tooling issues rather than a global recipe.
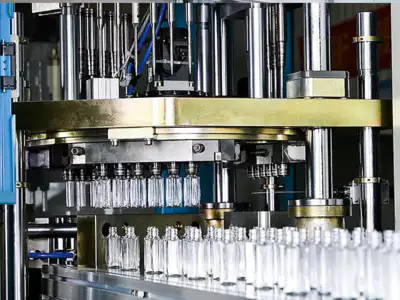
Inspect Preform Mass and Geometry
Preform mass
Preform mass. Weigh preforms and inspect length, concentricity, gate and wall profile. Check injection balance before touching blow settings. The diagnostic test should show whether preform mass can physically create the observed defect before a repair or parameter change is accepted. If a change improves one region but worsens another, compare the material or energy movement between preform mass and preform mass instead of accepting the first visual improvement. A lighter or eccentric preform cannot produce the same bottle distribution as the other cavities.
Axial temperature
Axial temperature. Compare temperature along the preform body using fixed measurement locations. Relate warmer and cooler bands to thick and thin bottle sections. The diagnostic test should show whether axial temperature can physically create the observed defect before a repair or parameter change is accepted. Where the outcome depends on material grade or tooling geometry, confirm the approved project limit and then use axial temperature as the next cross-check. A thermal band that is too hot can over-stretch and become locally thin.
Conditions de travail pour cette tâche spécifique
- Symptom map
- Cut bottles at repeatable heights and measure several angles to identify exactly where material is thin and where the missing mass accumulated.
- Cavity pattern
- Determine whether all cavities show the same thin area or only one cavity does.
- Preform mass
- Weigh preforms and inspect length, concentricity, gate and wall profile.
- Axial temperature
- Compare temperature along the preform body using fixed measurement locations.
Verify the Axial and Circumferential Temperature Profile
Circumferential temperature
Circumferential temperature. For oval or asymmetric bottles, verify the hot/cold pattern and preform angular orientation. Mark orientation through the transfer path. The diagnostic test should show whether circumferential temperature can physically create the observed defect before a repair or parameter change is accepted. When the project is near a machine or material limit, require a molding trial that isolates circumferential temperature and then challenges circumferential temperature under the same bottle specification. A rotated preform moves preferentially conditioned material to the wrong bottle face.
| Article | Question d'ingénierie | vérification pratique |
|---|---|---|
| Symptom map | Cut bottles at repeatable heights and measure several angles to identify exactly where material is thin and where the missing mass accumulated. | Record cavity number and orientation on every sample. |
| Cavity pattern | Determine whether all cavities show the same thin area or only one cavity does. | Compare wall maps, bottle weights and preforms by cavity. |
| Preform mass | Weigh preforms and inspect length, concentricity, gate and wall profile. | Check injection balance before touching blow settings. |
| Axial temperature | Compare temperature along the preform body using fixed measurement locations. | Relate warmer and cooler bands to thick and thin bottle sections. |
| Circumferential temperature | For oval or asymmetric bottles, verify the hot/cold pattern and preform angular orientation. | Mark orientation through the transfer path. |
| Stretch rod | Check rod length, tip position, alignment, start time and velocity profile. | Compare rod motion or mechanical position across cavities where applicable. |
| Conditions de libération | Fix the highest-confidence cause, stabilize the machine, and repeat the same thickness map. Keep a before/after record and do not change multiple variables at once. | |
Check Stretch Rod Position, Speed and Timing
Stretch rod
Stretch rod. Check rod length, tip position, alignment, start time and velocity profile. Compare rod motion or mechanical position across cavities where applicable. The diagnostic test should show whether stretch rod can physically create the observed defect before a repair or parameter change is accepted. The safest interpretation comes from comparing at least several stable cycles and then verifying stretch rod without changing the rest of the recipe. An off-center or late rod can push the bubble sideways and starve the base.
For a compatibility check, the ASB-12 blow mold compatibility shows the kinds of mechanical and thermal interfaces that should be verified before a tooling or process change is released to production.
Check Pre-Blow and Final Blow Timing
Pre-blow timing
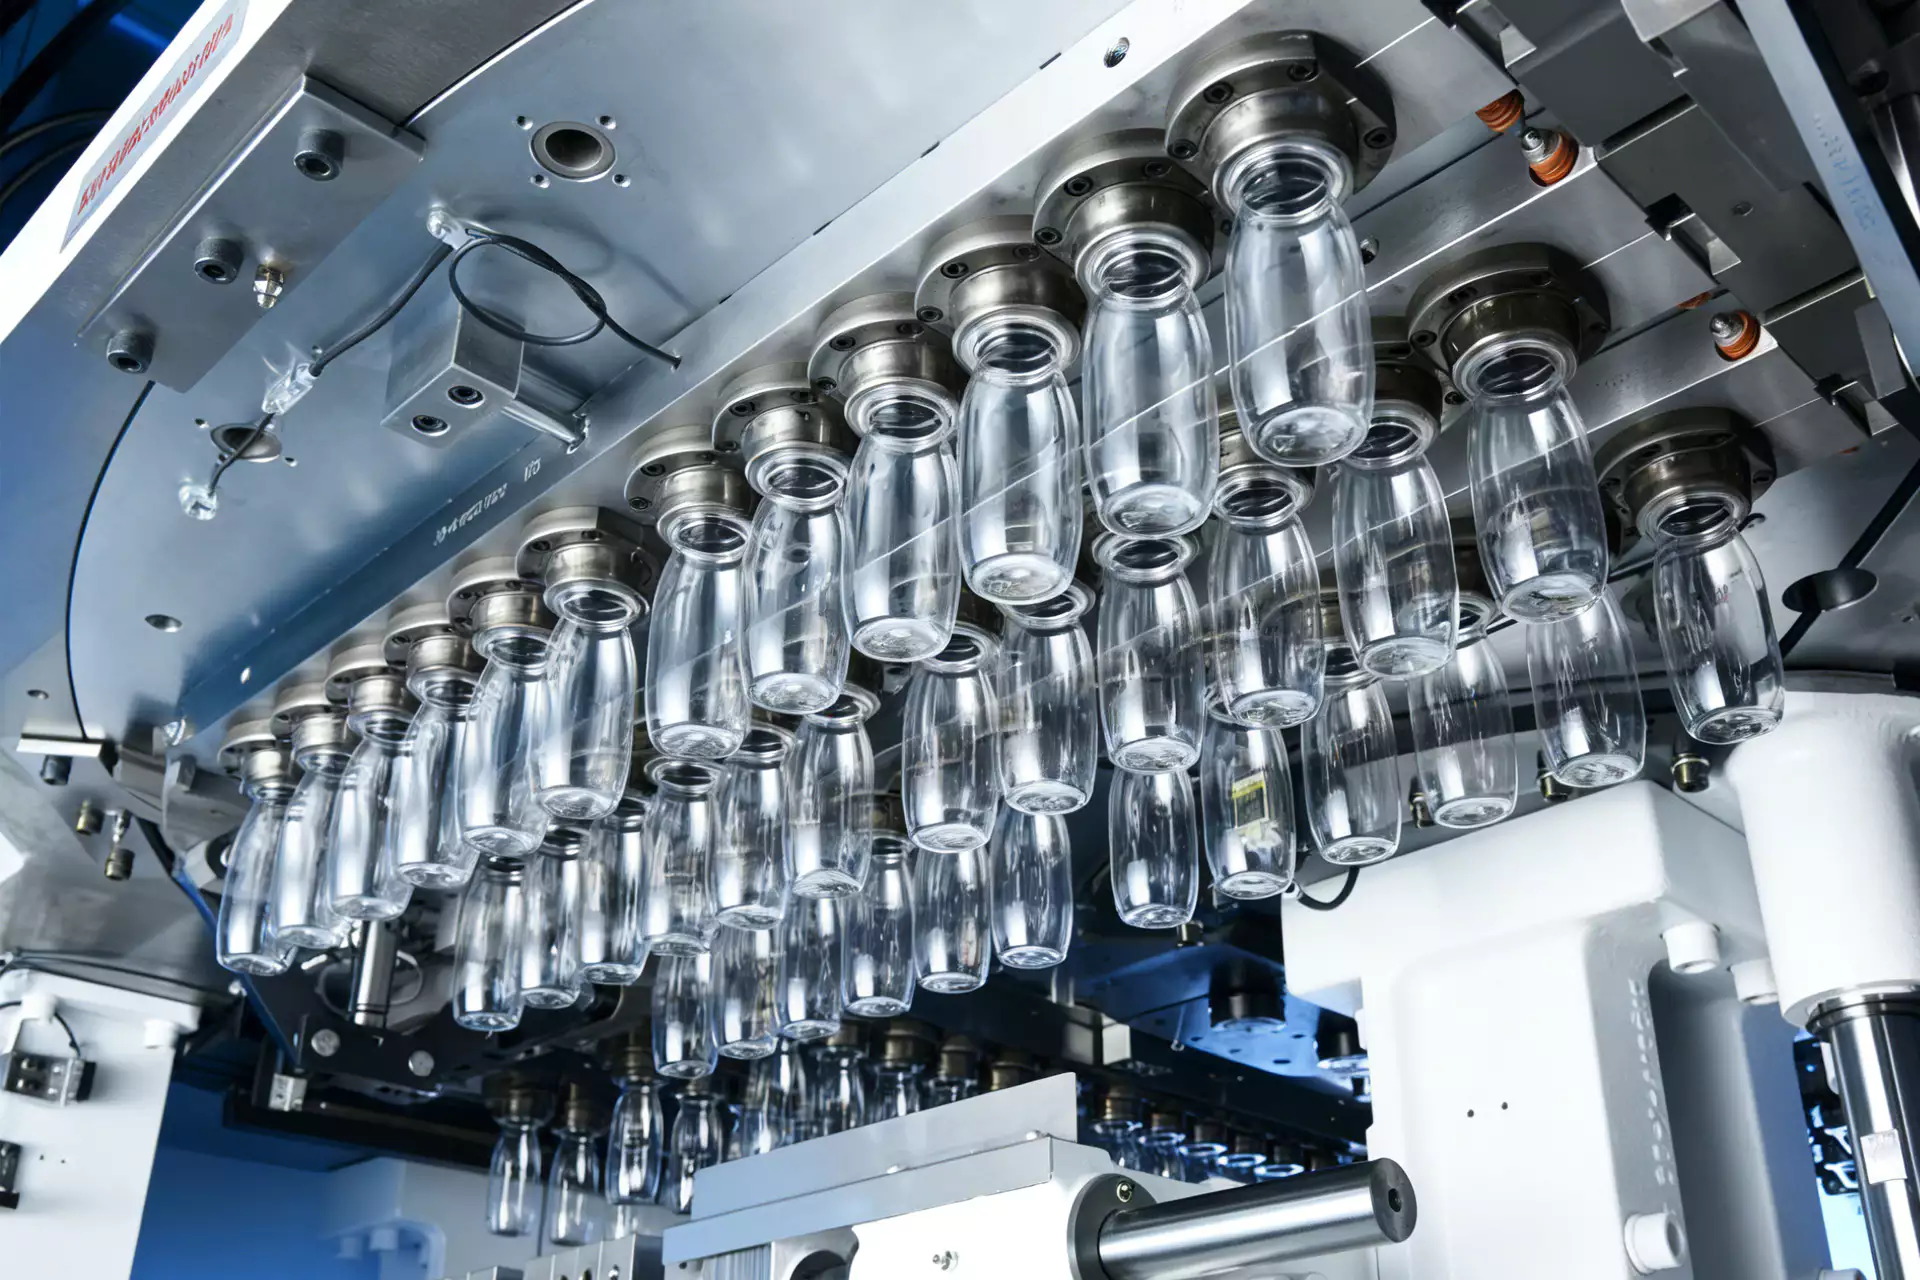
Pre-blow timing. Observe whether radial expansion begins before adequate axial draw. Adjust timing in small increments while holding the thermal profile constant. The diagnostic test should show whether pre-blow timing can physically create the observed defect before a repair or parameter change is accepted. A useful production trial keeps the resin lot and cavity identification fixed while pre-blow timing is changed, followed by a separate check of pre-blow timing. Early expansion can freeze material in the upper bottle; excessive delay can cause folds or rod contact.
Blow circuit
Blow circuit. Verify consistent air delivery and valve behavior by cavity. Check pressure at the machine and inspect seals or valves when one cavity behaves differently. The diagnostic test should show whether blow circuit can physically create the observed defect before a repair or parameter change is accepted. The practical value of this check is that it turns blow circuit from a vague setting into evidence that can be compared with blow circuit. A supply setpoint does not prove each cavity receives the same pressure rise.
Check Mold Cooling, Venting and Orientation
Mold cooling
Mold cooling. Compare flow and temperature return from relevant blow-mold circuits. Inspect for blockage or scale where one wall consistently freezes differently. The diagnostic test should show whether mold cooling can physically create the observed defect before a repair or parameter change is accepted. Use this result to narrow the process window, not to create a new universal setpoint; the next constraint to confirm is mold cooling. Uneven cooling can change material contact and post-mold shrinkage.
Make One Corrective Change and Re-Map the Bottle
Correction sequence
Correction sequence. Fix the highest-confidence cause, stabilize the machine, and repeat the same thickness map. Keep a before/after record and do not change multiple variables at once. The diagnostic test should show whether correction sequence can physically create the observed defect before a repair or parameter change is accepted. The expected response should be visible in a bottle measurement, defect map, or machine trend before the team proceeds to correction sequence. Stacked adjustments can create a temporarily good bottle with no reproducible process knowledge.
Mold cooling: release evidence
Compare flow and temperature return from relevant blow-mold circuits. Inspect for blockage or scale where one wall consistently freezes differently. The condition is accepted only when the relevant bottle measurement or functional test remains stable after the process reaches normal operating temperature.
Correction sequence: failure boundary
Stacked adjustments can create a temporarily good bottle with no reproducible process knowledge. Use that failure mode as the boundary for the trial and return to the previous stable condition when the bottle response moves in the wrong direction.
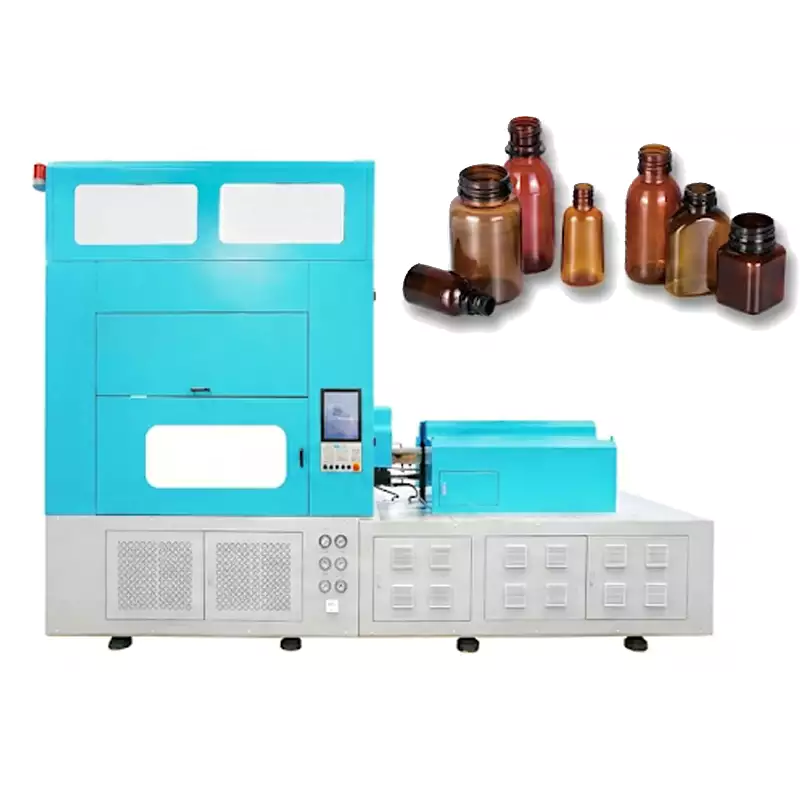
Lors de la traduction des exigences en matériel, le Configuration de la machine HGY50-V3-EV illustre comment l'injection, le conditionnement thermique, le mouvement d'étirage-soufflage et la manutention sont organisés sur une plateforme compacte en une seule étape.
Questions that arise specifically in Why Do ISBM Bottles Have Uneven Wall Thickness?
Should I increase bottle weight to fix a thin wall?
Not as the first response. More resin can raise cost without correcting distribution. Find why existing material is moving to the wrong region.
Why is only one cavity thin?
Check its preform mass, local cooling, stretch-rod alignment, air valve, venting and mold geometry before changing the entire machine recipe.
Can temperature create a circumferential thin spot?
Yes, especially on oval or irregular bottles where directional temperature and orientation control are important.
How do I distinguish preform and blow problems?
Inspect and weigh the corresponding preforms by cavity. If the input already varies, stabilize injection before blow tuning.
What is the best final check?
Repeat the defined thickness map across all cavities after steady-state production and confirm the functional bottle tests still pass.
Conclusion pratique
For Why Do ISBM Bottles Have Uneven Wall Thickness?, begin by documenting symptom map, then test stretch rod without moving unrelated settings, and release the process only after correction sequence is verified on every active cavity. Stacked adjustments can create a temporarily good bottle with no reproducible process knowledge.