
How to Control Bottle Wall Thickness in ISBM: Practical Technical Guide
The useful answer to How to Control Bottle Wall Thickness in ISBM comes from the interaction between thickness map, rod speed profile, and cavity verification. The sections below turn those factors into checks that can be repeated on a production machine.
Thickness mapRod speed profileCavity verification
اس مضمون کو کیا ثابت کرنا چاہیے۔
Control final bottle wall thickness by managing preform geometry, thermal profile, stretch-rod motion, air timing and mold cooling, then verify the result with a repeatable thickness map. A defensible baseline begins with Define measurement bands at the shoulder, upper sidewall, mid-body, lower panel, heel and base, with several circumferential points at each band. The first verification method is Use the same cut locations and instrument method for every trial. From there, the article follows only checks that can materially change the answer promised by the title. Where an exact operating value depends on the resin grade, bottle drawing, mold, or delivered machine, the approved project specification controls the final setting.
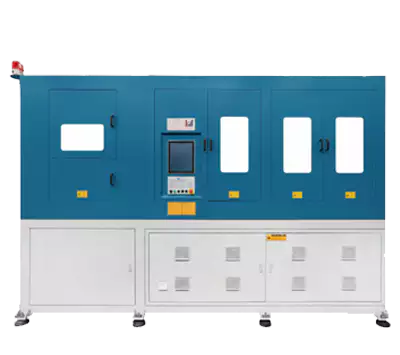
✔️ Thickness map
Define measurement bands at the shoulder, upper sidewall, mid-body, lower panel, heel and base, with several circumferential points at each band. Use the same cut locations and instrument method for every trial.
✔️ Preform mass distribution
Preform wall thickness and taper determine how much material is available to each bottle region. Compare the preform profile with the bottle surface area and difficult features before tuning the machine.
✔️ Axial thermal profile
Warmer regions generally stretch more readily while cooler regions resist stretching, within the resin process window. Adjust conditioning in small zones and compare the next thickness map.
دی ASB کے موافق ٹولنگ کنفیگریشن یہ جانچتے وقت بھی متعلقہ ہے کہ تبدیلی، خرابیوں کا سراغ لگانے، یا صلاحیت میں تبدیلی کے دوران مولڈ انٹرفیس اور مشین کی حرکت کو کس طرح ہم آہنگ رہنا چاہیے۔
Start with a Wall-Thickness Map
Thickness map
Thickness map. Define measurement bands at the shoulder, upper sidewall, mid-body, lower panel, heel and base, with several circumferential points at each band. Use the same cut locations and instrument method for every trial. Hold adjacent settings steady while testing thickness map and verify the result with wall, dimension, or visual data. If the result differs by cavity, compare the local hardware related to thickness map before moving on to thickness map. Random thickness checks can miss the local minimum that controls bottle performance.
Preform Design Sets the Material Budget
Preform mass distribution
Preform mass distribution. Preform wall thickness and taper determine how much material is available to each bottle region. Compare the preform profile with the bottle surface area and difficult features before tuning the machine. Hold adjacent settings steady while testing preform mass distribution and verify the result with wall, dimension, or visual data. This item is considered resolved only when the finding remains repeatable after thermal stabilization and the next check, preform mass distribution, does not contradict it. A preform that lacks material for the base cannot be rescued by temperature alone.
Axial thermal profile
Axial thermal profile. Warmer regions generally stretch more readily while cooler regions resist stretching, within the resin process window. Adjust conditioning in small zones and compare the next thickness map. Hold adjacent settings steady while testing axial thermal profile and verify the result with wall, dimension, or visual data. For repeatability, define who measures axial thermal profile, where it is measured, and what bottle evidence is required before checking axial thermal profile. Large heating changes can move a thin spot rather than improve the overall balance.
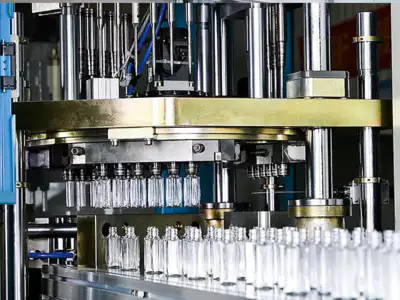
Use Temperature to Decide Where Material Can Stretch
Circumferential conditioning
Circumferential conditioning. Oval and irregular bottles may need directional thermal control so material does not over-stretch into the long axis. Index the preform consistently and compare major/minor wall sections. Hold adjacent settings steady while testing circumferential conditioning and verify the result with wall, dimension, or visual data. Record the bottle response beside the setting or measurement for circumferential conditioning; that record becomes the starting condition when circumferential conditioning is reviewed. If orientation is lost during transfer, preferential heating cannot stay aligned with the bottle.
اس مخصوص کام کے لیے کام کرنے کی شرائط
- Thickness map
- Define measurement bands at the shoulder, upper sidewall, mid-body, lower panel, heel and base, with several circumferential points at each band.
- Preform mass distribution
- Preform wall thickness and taper determine how much material is available to each bottle region.
- Axial thermal profile
- Warmer regions generally stretch more readily while cooler regions resist stretching, within the resin process window.
- Circumferential conditioning
- Oval and irregular bottles may need directional thermal control so material does not over-stretch into the long axis.
Use Rod Motion to Control Axial Draw
Rod start
Rod start. The moment the stretch rod contacts and begins drawing the preform affects how much material moves toward the lower bottle before radial expansion. Shift timing in small increments while holding temperature and pressure constant. Hold adjacent settings steady while testing rod start and verify the result with wall, dimension, or visual data. If the symptom or performance target does not move as predicted, return rod start to the baseline and investigate rod start rather than stacking corrections. Too-late stretch can leave excess material high in the bottle.
Rod speed profile
Rod speed profile. A controlled speed or multi-stage motion can shape when different preform regions enter extension. Use the machine motion trace where available and relate changes to base and sidewall thickness. Hold adjacent settings steady while testing rod speed profile and verify the result with wall, dimension, or visual data. If a change improves one region but worsens another, compare the material or energy movement between rod speed profile and rod speed profile instead of accepting the first visual improvement. A faster rod is not automatically better; it must remain synchronized with air and material temperature.
For tooling-related decisions, the ASB-12 replacement mold engineering highlights why dimensional interfaces, cooling connections, cavity geometry, and transfer alignment must be treated as part of the machine setup.
| آئٹم | انجینئرنگ کا سوال | عملی تصدیق |
|---|---|---|
| Thickness map | Define measurement bands at the shoulder, upper sidewall, mid-body, lower panel, heel and base, with several circumferential points at each band. | Use the same cut locations and instrument method for every trial. |
| Preform mass distribution | Preform wall thickness and taper determine how much material is available to each bottle region. | Compare the preform profile with the bottle surface area and difficult features before tuning the machine. |
| Axial thermal profile | Warmer regions generally stretch more readily while cooler regions resist stretching, within the resin process window. | Adjust conditioning in small zones and compare the next thickness map. |
| Circumferential conditioning | Oval and irregular bottles may need directional thermal control so material does not over-stretch into the long axis. | Index the preform consistently and compare major/minor wall sections. |
| Rod start | The moment the stretch rod contacts and begins drawing the preform affects how much material moves toward the lower bottle before radial expansion. | Shift timing in small increments while holding temperature and pressure constant. |
| Rod speed profile | A controlled speed or multi-stage motion can shape when different preform regions enter extension. | Use the machine motion trace where available and relate changes to base and sidewall thickness. |
| رہائی کی شرط | Measure thickness and weight by cavity after the process reaches steady state. Use cavity identification to separate machine-wide process issues from mold-local issues. | |
Use Blow Timing to Control Radial Expansion
Pre-blow timing
Pre-blow timing. Early radial expansion can freeze material against the mold before axial distribution is complete. Delay or advance pre-blow incrementally and compare shoulder-to-base thickness transfer. Hold adjacent settings steady while testing pre-blow timing and verify the result with wall, dimension, or visual data. Where the outcome depends on material grade or tooling geometry, confirm the approved project limit and then use pre-blow timing as the next cross-check. Extreme delay can allow preform instability; extreme advance can starve the lower bottle.
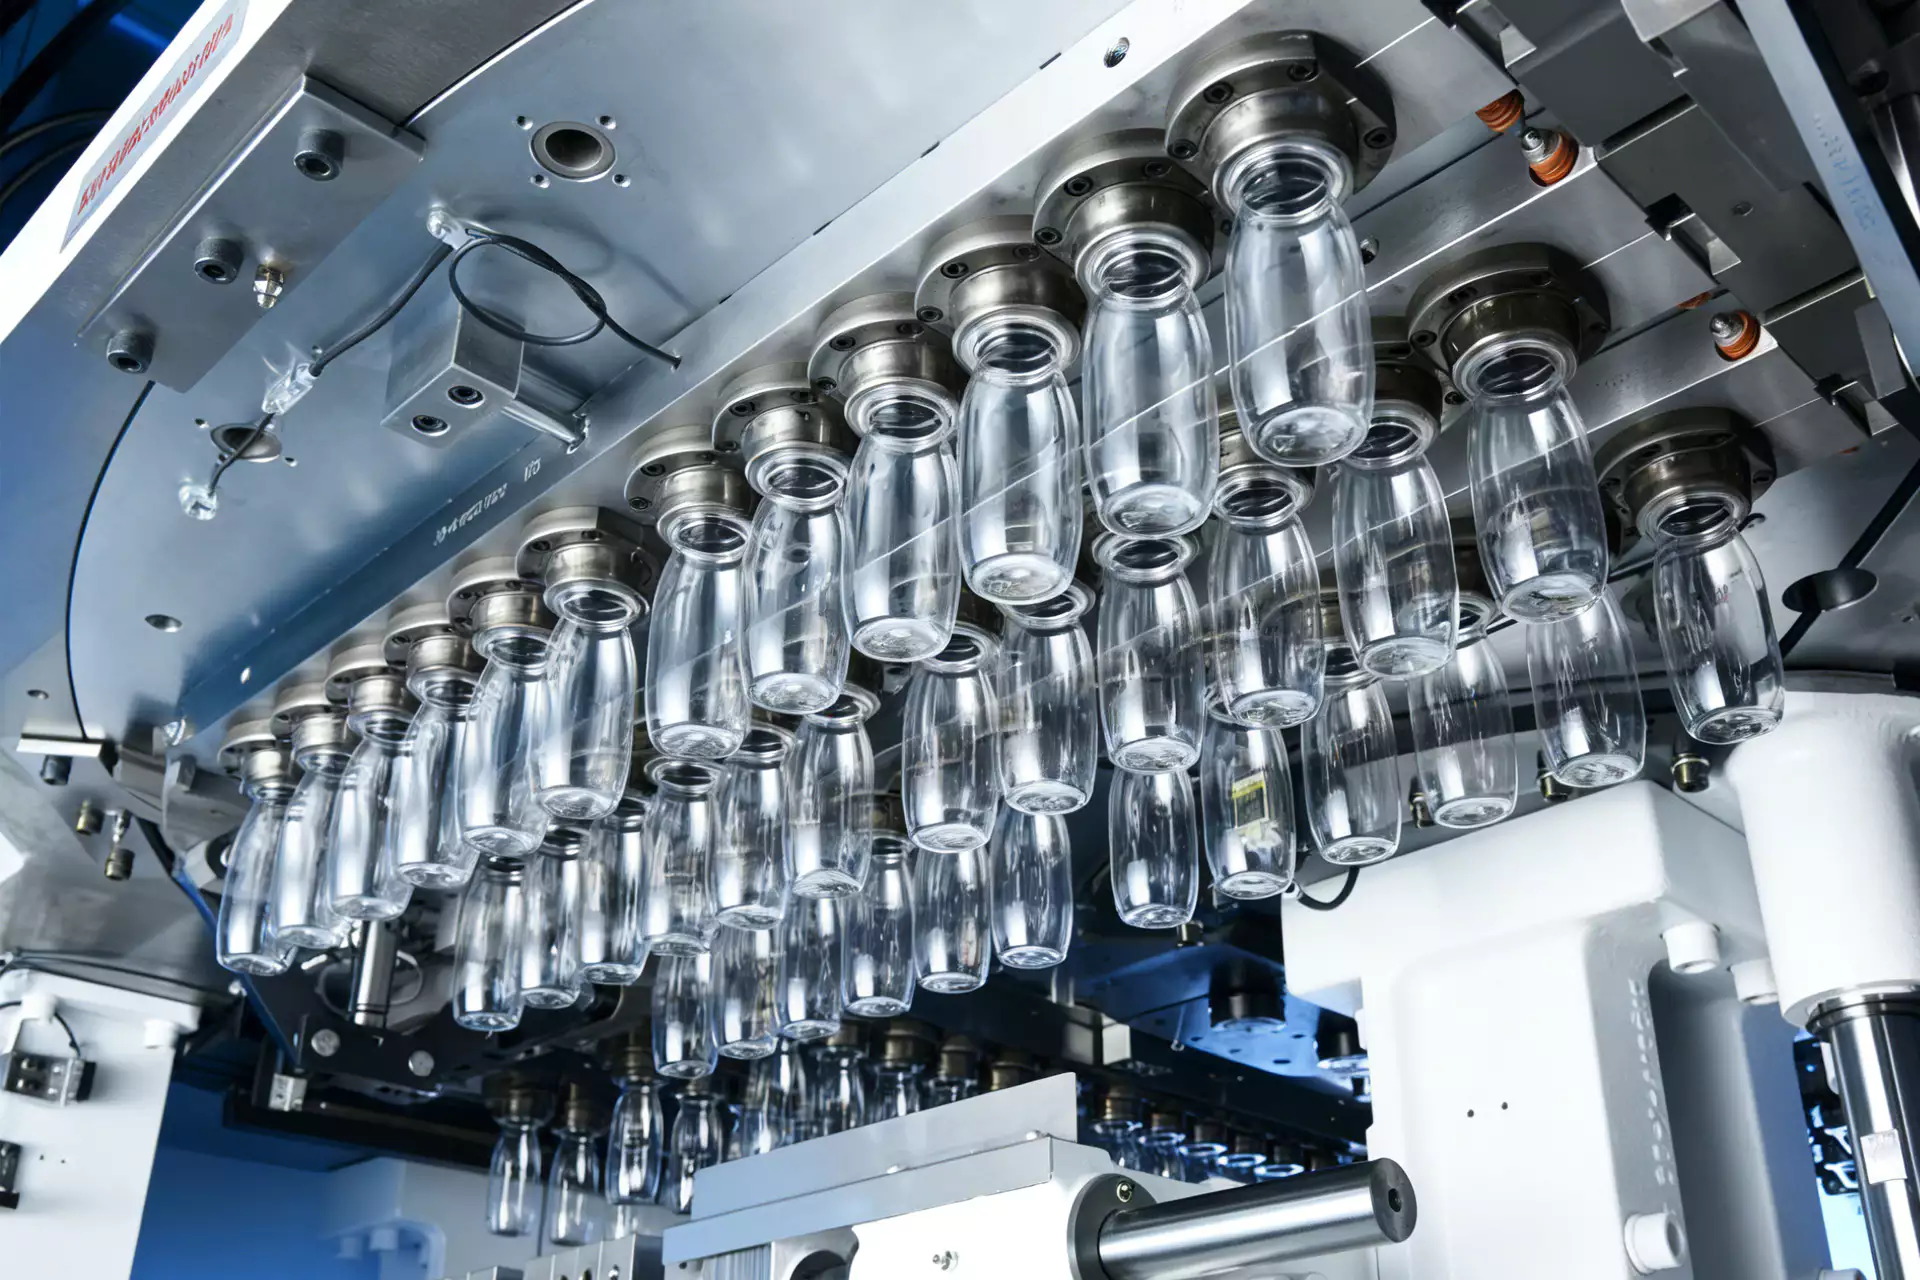
Correct Base, Shoulder and Panel Imbalances Separately
Final blow and venting
Final blow and venting. Final pressure should create complete mold contact without being used as the main thickness-control tool. Check poor definition for blocked vents or cold material before increasing pressure. Hold adjacent settings steady while testing final blow and venting and verify the result with wall, dimension, or visual data. When the project is near a machine or material limit, require a molding trial that isolates final blow and venting and then challenges final blow and venting under the same bottle specification. High pressure cannot move material after it has already cooled against the cavity.
Mold cooling
Mold cooling. Uneven mold temperature can change local freeze time and dimensions. Balance water circuits and inspect for blocked channels or high return-temperature differences. Hold adjacent settings steady while testing mold cooling and verify the result with wall, dimension, or visual data. The safest interpretation comes from comparing at least several stable cycles and then verifying mold cooling without changing the rest of the recipe. One hot cavity can repeatedly produce a different wall profile even with identical recipe settings.
Verify Every Cavity and Lock the Process Window
Cavity verification
Cavity verification. Measure thickness and weight by cavity after the process reaches steady state. Use cavity identification to separate machine-wide process issues from mold-local issues. Hold adjacent settings steady while testing cavity verification and verify the result with wall, dimension, or visual data. A useful production trial keeps the resin lot and cavity identification fixed while cavity verification is changed, followed by a separate check of cavity verification. A batch average can hide a single cavity that makes dangerously thin bottles.
Mold cooling: release evidence
Uneven mold temperature can change local freeze time and dimensions. Balance water circuits and inspect for blocked channels or high return-temperature differences. The condition is accepted only when the relevant bottle measurement or functional test remains stable after the process reaches normal operating temperature.
Cavity verification: failure boundary
A batch average can hide a single cavity that makes dangerously thin bottles. Use that failure mode as the boundary for the trial and return to the previous stable condition when the bottle response moves in the wrong direction.
ضرورت کو ہارڈ ویئر میں ترجمہ کرتے وقت، HGY50-V3-EV مشین کی ترتیب یہ بتاتا ہے کہ انجیکشن، تھرمل کنڈیشنگ، اسٹریچ بلو موشن، اور ہینڈلنگ کو کمپیکٹ ون سٹیپ پلیٹ فارم پر کیسے منظم کیا جاتا ہے۔
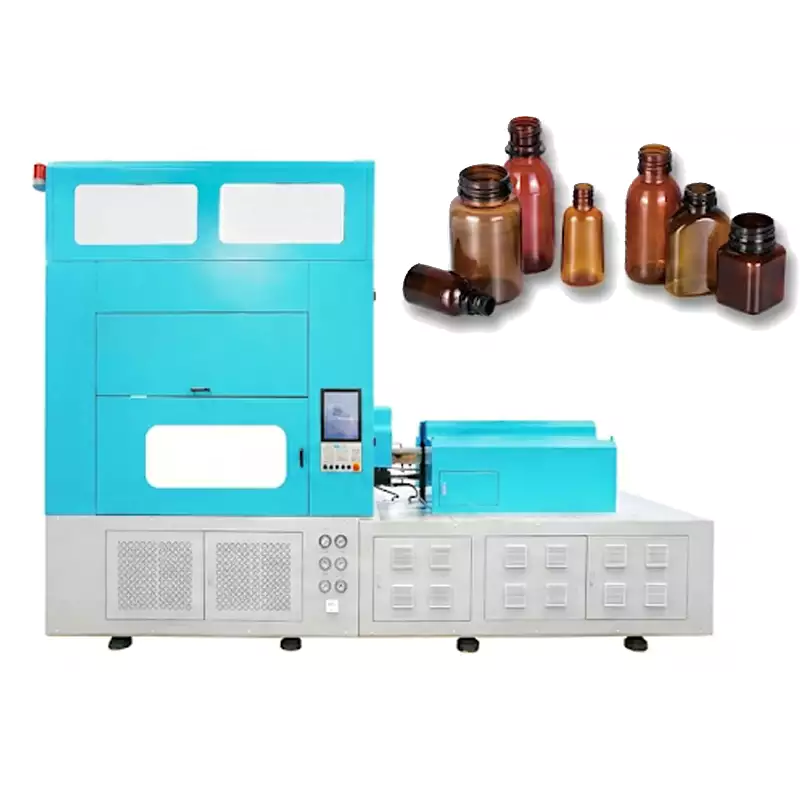
Questions that arise specifically in How to Control Bottle Wall Thickness in ISBM
Which variable should I change first for a thin base?
First confirm the preform and thickness map, then examine thermal profile and stretch/pre-blow timing. Changing final pressure first is rarely the most informative step.
Can bottle weight be correct while wall thickness is wrong?
Yes. The same mass can be distributed very differently between shoulder, sidewall and base.
Why measure circumferential thickness?
Oval, handled and irregular bottles can have large differences around the perimeter even when axial averages look acceptable.
Does colder preform material always become thicker?
Not as a universal rule. Material movement depends on the complete thermal, stretch and air sequence, so confirm changes with measurements.
How do I know if one cavity has a mold problem?
Track thickness and defects by cavity. A repeatable issue at one location points toward local cooling, venting, alignment or tooling condition.
عملی نتیجہ
A robust answer to How to Control Bottle Wall Thickness in ISBM should survive a restart and a full thermal stabilization period. The setup record should therefore connect thickness map with rod speed profile and the bottle result from cavity verification. A faster rod is not automatically better; it must remain synchronized with air and material temperature.