
How to Fix ISBM Bottle Base Deformation: Practical Technical Guide
The useful answer to How to Fix ISBM Bottle Base Deformation comes from the interaction between timing of defect, base insert cooling, and filled-bottle test. The sections below turn those factors into checks that can be repeated on a production machine.
Timing of defectBase insert coolingFilled-bottle test
What this article must prove
Fix bottle base deformation such as rocking, dish, pushed-up feet, collapse, off-center base or post-ejection warpage by diagnosing material placement, base temperature, blow-mold cooling, rod position and downstream heat. A defensible baseline begins with Determine whether the base is deformed at mold opening, after several minutes, after filling or after hot storage. The first verification method is Measure base flatness at defined times. From there, the article follows only checks that can materially change the answer promised by the title. Where an exact operating value depends on the resin grade, bottle drawing, mold, or delivered machine, the approved project specification controls the final setting.
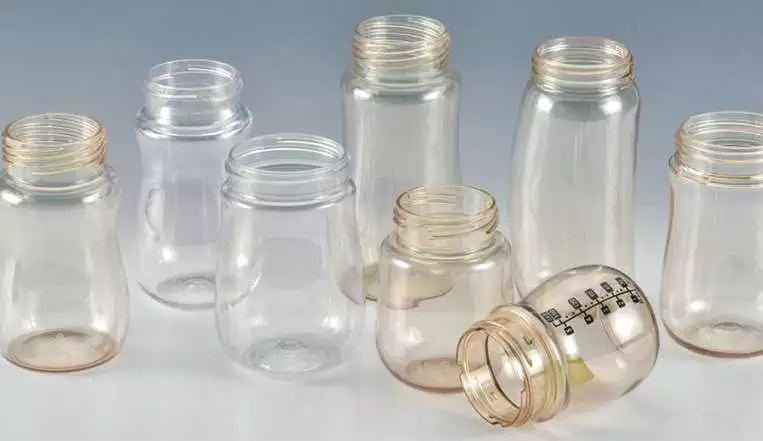
✔️ Timing of defect
Determine whether the base is deformed at mold opening, after several minutes, after filling or after hot storage. Measure base flatness at defined times.
✔️ Wall distribution
Cut the base and heel to find thick hot areas and thin over-stretched regions. Compare to a stable reference bottle.
✔️ Gate centering
Check whether the gate and material mass are centered relative to the base geometry. Inspect preform core, stretch rod and base insert alignment.
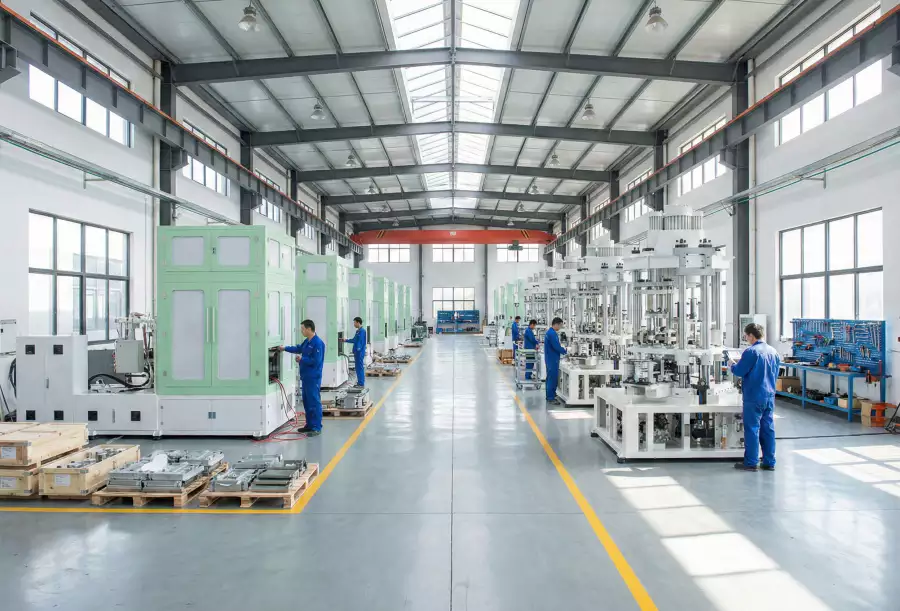
When translating the requirement into hardware, the HGY50-V3-EV machine configuration illustrates how injection, thermal conditioning, stretch-blow motion, and handling are organized on a compact one-step platform.
Classify the Base Defect and When It Appears
Timing of defect
Timing of defect. Determine whether the base is deformed at mold opening, after several minutes, after filling or after hot storage. Measure base flatness at defined times. The diagnostic test should show whether timing of defect can physically create the observed defect before a repair or parameter change is accepted. For repeatability, define who measures timing of defect, where it is measured, and what bottle evidence is required before checking timing of defect. A delayed warp usually points more strongly to residual heat or stress than an immediate incomplete-form defect.
Check Base Wall Distribution
Wall distribution
Wall distribution. Cut the base and heel to find thick hot areas and thin over-stretched regions. Compare to a stable reference bottle. The diagnostic test should show whether wall distribution can physically create the observed defect before a repair or parameter change is accepted. Record the bottle response beside the setting or measurement for wall distribution; that record becomes the starting condition when wall distribution is reviewed. Adding cooling without correcting an extremely thick base may only lengthen cycle.
Check Gate and Stretch-Rod Position
Gate centering
Gate centering. Check whether the gate and material mass are centered relative to the base geometry. Inspect preform core, stretch rod and base insert alignment. The diagnostic test should show whether gate centering can physically create the observed defect before a repair or parameter change is accepted. If the symptom or performance target does not move as predicted, return gate centering to the baseline and investigate gate centering rather than stacking corrections. An off-center gate can create unequal foot thickness and rocking.
Rod end position
Rod end position. The stretch rod helps place material at the base before radial expansion. Verify stroke, tip condition and end position for the mold. The diagnostic test should show whether rod end position can physically create the observed defect before a repair or parameter change is accepted. If a change improves one region but worsens another, compare the material or energy movement between rod end position and rod end position instead of accepting the first visual improvement. Stopping too high can starve the base; excessive contact can mark or stress the gate region.
Working terms for this specific task
- Timing of defect
- Determine whether the base is deformed at mold opening, after several minutes, after filling or after hot storage.
- Wall distribution
- Cut the base and heel to find thick hot areas and thin over-stretched regions.
- Gate centering
- Check whether the gate and material mass are centered relative to the base geometry.
- Rod end position
- The stretch rod helps place material at the base before radial expansion.
Check Preform Base Temperature
Base thermal profile
Base thermal profile. Ensure the preform base is warm enough to form but not so hot that it remains soft after mold contact. Use localized conditioning and thickness evidence. The diagnostic test should show whether base thermal profile can physically create the observed defect before a repair or parameter change is accepted. Where the outcome depends on material grade or tooling geometry, confirm the approved project limit and then use base thermal profile as the next cross-check. Global heating to fix a cold base can over-soften the sidewall.
| Artículo | Engineering question | Practical verification |
|---|---|---|
| Timing of defect | Determine whether the base is deformed at mold opening, after several minutes, after filling or after hot storage. | Measure base flatness at defined times. |
| Wall distribution | Cut the base and heel to find thick hot areas and thin over-stretched regions. | Compare to a stable reference bottle. |
| Gate centering | Check whether the gate and material mass are centered relative to the base geometry. | Inspect preform core, stretch rod and base insert alignment. |
| Rod end position | The stretch rod helps place material at the base before radial expansion. | Verify stroke, tip condition and end position for the mold. |
| Base thermal profile | Ensure the preform base is warm enough to form but not so hot that it remains soft after mold contact. | Use localized conditioning and thickness evidence. |
| Base insert cooling | Verify water flow close to thick base features and check for scale or air locks. | Compare supply/return temperature and cavity patterns. |
| Release condition | Verify standing stability and base response under actual fill weight and storage conditions. Use the package qualification protocol. | |
Check Base Insert Cooling and Venting
Base insert cooling
Base insert cooling. Verify water flow close to thick base features and check for scale or air locks. Compare supply/return temperature and cavity patterns. The diagnostic test should show whether base insert cooling can physically create the observed defect before a repair or parameter change is accepted. When the project is near a machine or material limit, require a molding trial that isolates base insert cooling and then challenges base insert cooling under the same bottle specification. A hot insert can produce stable-looking bottles that deform after ejection.
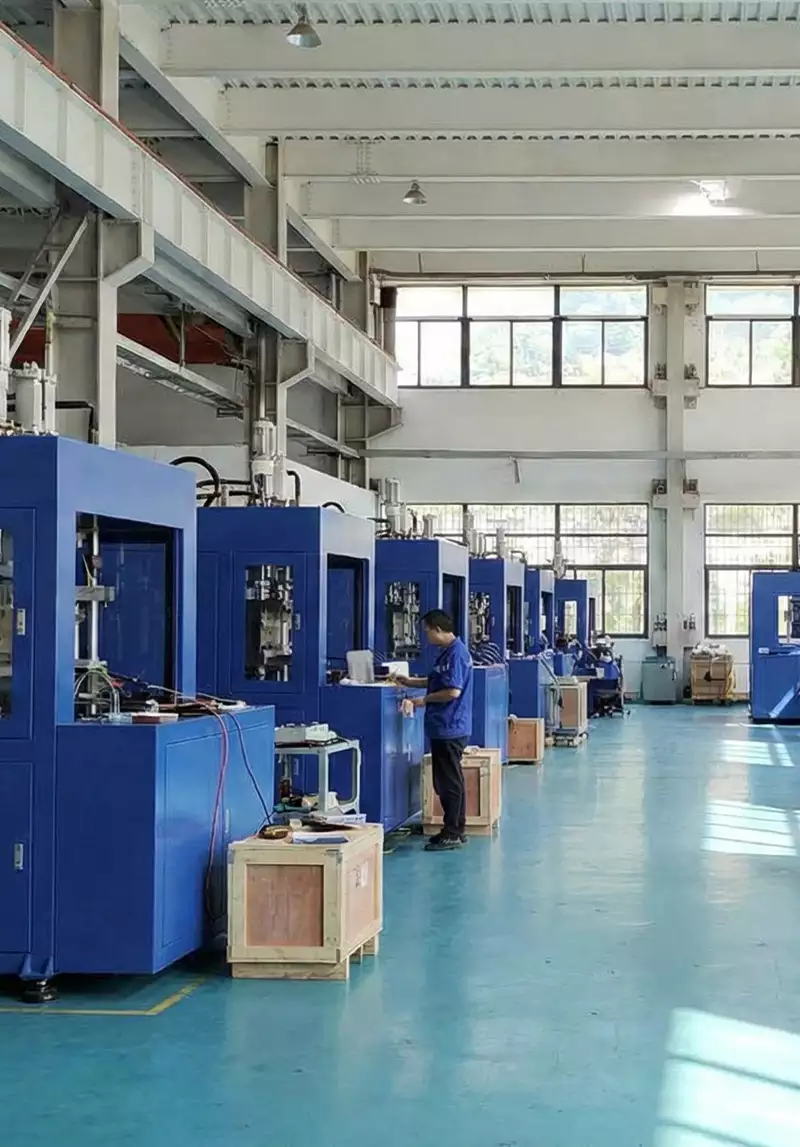
El ASB-compatible tooling configuration is also relevant when checking how mold interfaces and machine motion must remain compatible during replacement, troubleshooting, or capacity changes.
Check Blow Hold and Mold-Contact Time
Venting
Venting. Deep push-up and feet can trap air at last-contact points. Clean vents and inspect poor definition before raising pressure. The diagnostic test should show whether venting can physically create the observed defect before a repair or parameter change is accepted. The safest interpretation comes from comparing at least several stable cycles and then verifying venting without changing the rest of the recipe. Trapped air can prevent full base seating and cause uneven standing surfaces.
Blow hold
Blow hold. Maintain mold contact long enough for the base to freeze to a stable shape. Reduce hold only after cooling is optimized and delayed deformation is checked. The diagnostic test should show whether blow hold can physically create the observed defect before a repair or parameter change is accepted. A useful production trial keeps the resin lot and cavity identification fixed while blow hold is changed, followed by a separate check of blow hold. A short blow/cool phase can save cycle time while creating downstream rejects.
Check Ejection and Conveyor Support
Ejection support
Ejection support. Warm bases can distort when dropped onto a hard conveyor or compressed by guides. Observe bottle landing and guide contact. The diagnostic test should show whether ejection support can physically create the observed defect before a repair or parameter change is accepted. The practical value of this check is that it turns ejection support from a vague setting into evidence that can be compared with ejection support. Mechanical post-mold deformation is easily misdiagnosed as a mold problem.
Confirm Stability after Full Cooling and Filling
Filled-bottle test
Filled-bottle test. Verify standing stability and base response under actual fill weight and storage conditions. Use the package qualification protocol. The diagnostic test should show whether filled-bottle test can physically create the observed defect before a repair or parameter change is accepted. Use this result to narrow the process window, not to create a new universal setpoint; the next constraint to confirm is filled-bottle test. An empty bottle may stand correctly but creep or panel under product load.
Ejection support: release evidence
Warm bases can distort when dropped onto a hard conveyor or compressed by guides. Observe bottle landing and guide contact. The condition is accepted only when the relevant bottle measurement or functional test remains stable after the process reaches normal operating temperature.
Filled-bottle test: failure boundary
An empty bottle may stand correctly but creep or panel under product load. Use that failure mode as the boundary for the trial and return to the previous stable condition when the bottle response moves in the wrong direction.
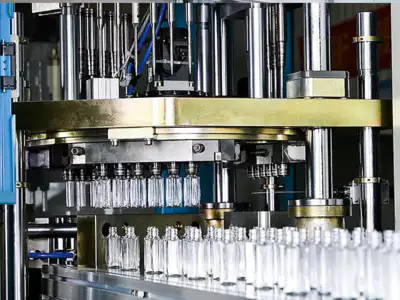
For a compatibility check, the ASB-12 blow mold compatibility shows the kinds of mechanical and thermal interfaces that should be verified before a tooling or process change is released to production.
Questions that arise specifically in How to Fix ISBM Bottle Base Deformation
Why does the base warp only after cooling?
Residual heat and stress can relax after ejection, especially when the base insert cooling or blow-hold time is insufficient.
Can I fix a rocking bottle by increasing blow pressure?
Only if incomplete mold contact is the verified cause. Rocking often involves wall distribution, gate centering or cooling.
Why is one foot thinner than the others?
Check gate and rod centering, preform temperature symmetry, base insert geometry and cavity-specific cooling.
What should I measure besides base flatness?
Measure heel/base wall thickness, gate position, bottle height and any functional push-up or foot dimensions.
Why test filled bottles?
Product weight and storage conditions can reveal creep or base instability that an empty bottle does not show.
Practical conclusion
A robust answer to How to Fix ISBM Bottle Base Deformation should survive a restart and a full thermal stabilization period. The setup record should therefore connect timing of defect with base insert cooling and the bottle result from filled-bottle test. A hot insert can produce stable-looking bottles that deform after ejection.