
How to Choose the Right ISBM Machine: Practical Technical Guide
The useful answer to How to Choose the Right ISBM Machine comes from the interaction between define the bottle family, check stretch and blow capability, and compare total ownership conditions. The sections below turn those factors into checks that can be repeated on a production machine.
Define the bottle familyCheck stretch and blow capabilityCompare total ownership conditions
What this article must prove
Select a machine configuration that matches the actual container, resin, output target, utilities, changeover pattern, and quality requirement rather than buying by clamp tonnage or headline speed alone. A defensible baseline begins with Record bottle volume, mass, maximum body diameter, height, neck finish, base style, symmetry and whether the family includes multiple shapes. The first verification method is Use approved bottle drawings or measured samples and mark dimensions that control mold pitch, blow-mold envelope, transfer clearance and stretch-rod travel. From there, the article follows only checks that can materially change the answer promised by the title. Where an exact operating value depends on the resin grade, bottle drawing, mold, or delivered machine, the approved project specification controls the final setting.
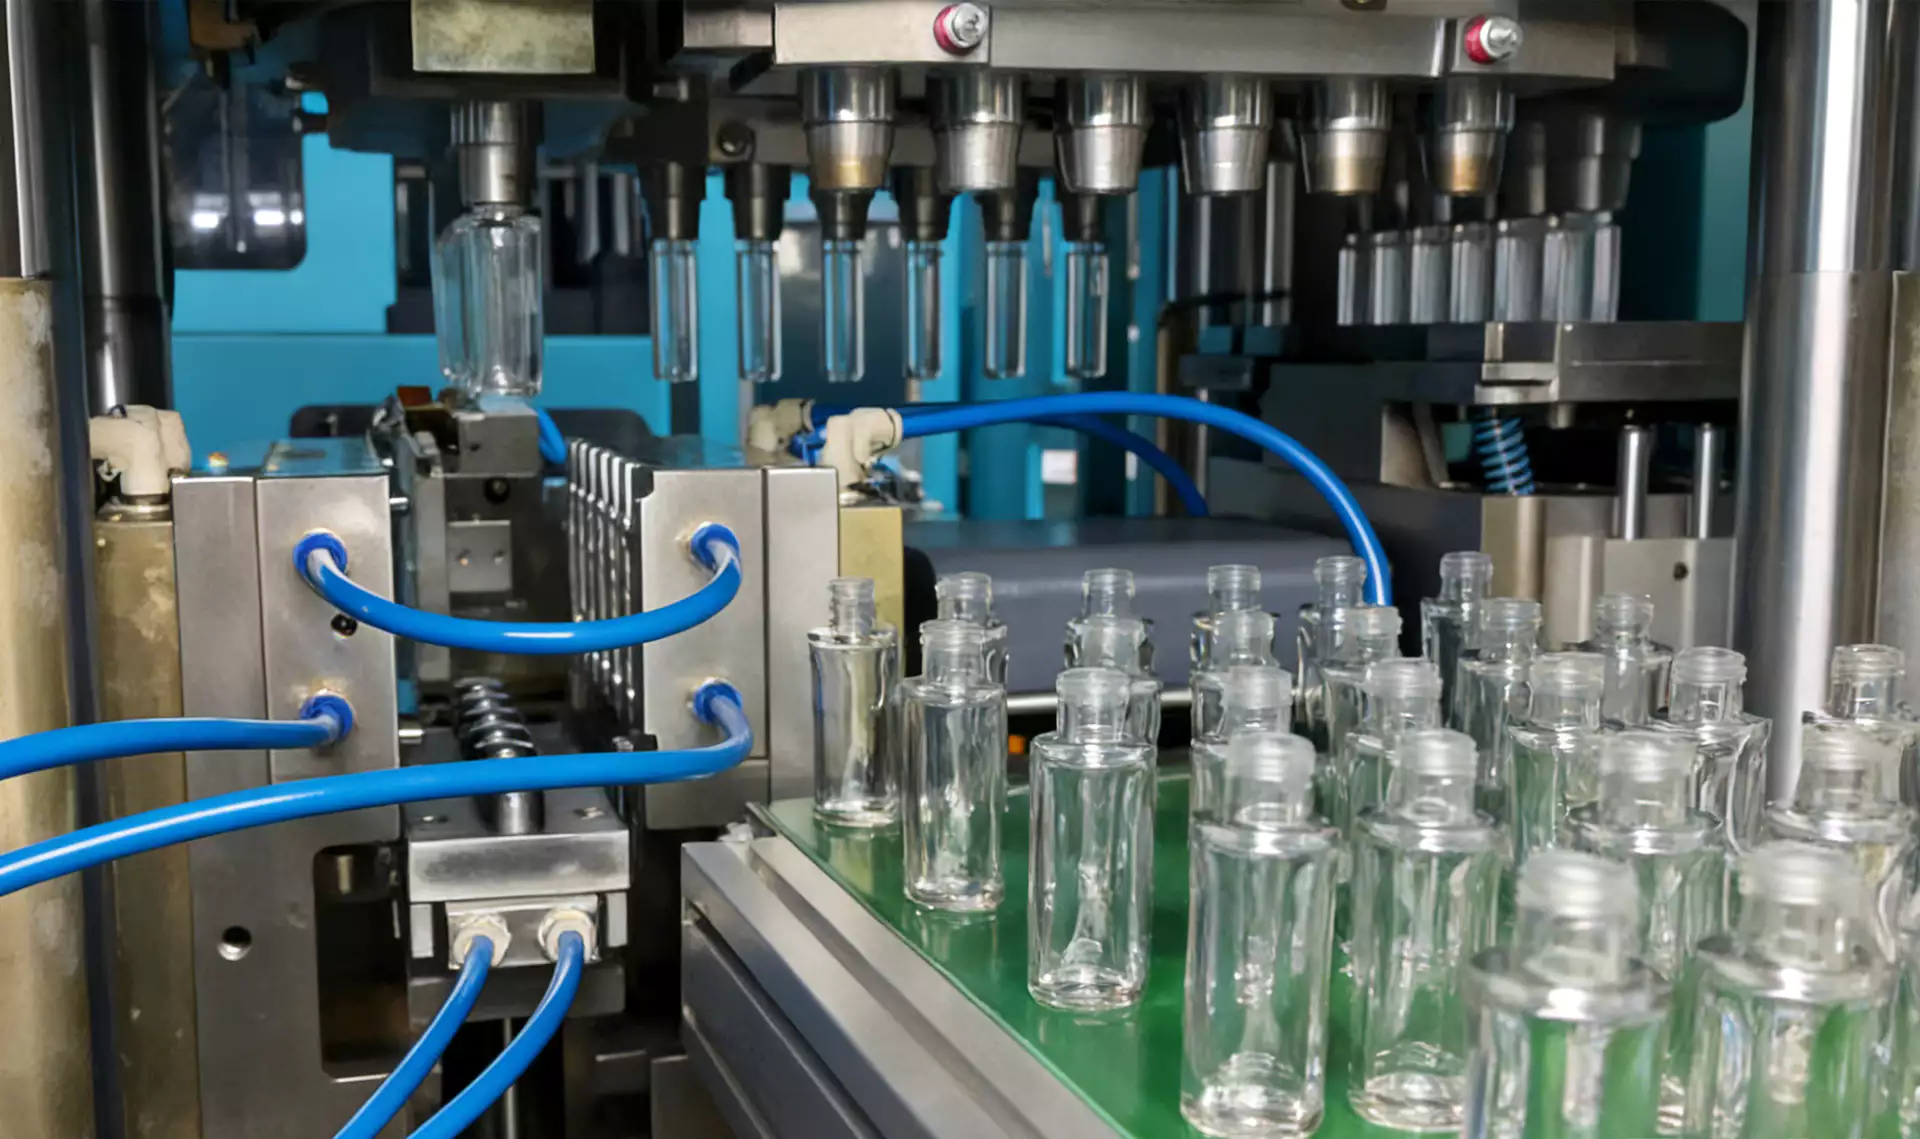
✔️ Define the bottle family
Record bottle volume, mass, maximum body diameter, height, neck finish, base style, symmetry and whether the family includes multiple shapes. Use approved bottle drawings or measured samples and mark dimensions that control mold pitch, blow-mold envelope, transfer clearance and stretch-rod travel.
✔️ Identify the resin and grade
Specify PET, PP, copolyester or another approved resin, including colorant, recycled content and food or pharmaceutical requirements. Ask the machine builder to confirm the plasticizing, injection, conditioning and stretching window for the exact grade rather than assuming all clear resins behave alike.
✔️ Set the real output target
Convert annual demand into good bottles per hour after allowing for planned shifts, changeovers, maintenance, startup scrap and expected utilization. Base the requirement on saleable output, not theoretical cycles, then test low and high demand scenarios.
For this topic, the one-step ISBM machine portfolio provides useful equipment context for connecting the process requirement to an integrated resin-to-bottle platform.
Start with the Finished Container, Not the Machine Brochure
Define the bottle family
Define the bottle family. Record bottle volume, mass, maximum body diameter, height, neck finish, base style, symmetry and whether the family includes multiple shapes. Use approved bottle drawings or measured samples and mark dimensions that control mold pitch, blow-mold envelope, transfer clearance and stretch-rod travel. Turn define the bottle family into a written project requirement or operating range before comparing machine models. Once this check is stable, the next useful question is whether define the bottle family changes the same bottle region or affects a different part of the process. Buying around one nominal volume can fail when an oval shoulder, wide neck or tall bottle exceeds the usable molding envelope.
Match Resin and Process Window to Machine Capability
Identify the resin and grade
Identify the resin and grade. Specify PET, PP, copolyester or another approved resin, including colorant, recycled content and food or pharmaceutical requirements. Ask the machine builder to confirm the plasticizing, injection, conditioning and stretching window for the exact grade rather than assuming all clear resins behave alike. Turn identify the resin and grade into a written project requirement or operating range before comparing machine models. This checkpoint should be evaluated before identify the resin and grade is altered, because otherwise two process mechanisms change at the same time. A machine that can melt a resin is not automatically capable of producing a stable, optically acceptable stretched container from it.
Set the real output target
Set the real output target. Convert annual demand into good bottles per hour after allowing for planned shifts, changeovers, maintenance, startup scrap and expected utilization. Base the requirement on saleable output, not theoretical cycles, then test low and high demand scenarios. Turn set the real output target into a written project requirement or operating range before comparing machine models. For this topic, the engineering log should connect set the real output target with the observed bottle condition and then test whether set the real output target supports the same diagnosis. Oversizing raises tooling and utility cost while undersizing turns every changeover or maintenance stop into a delivery risk.
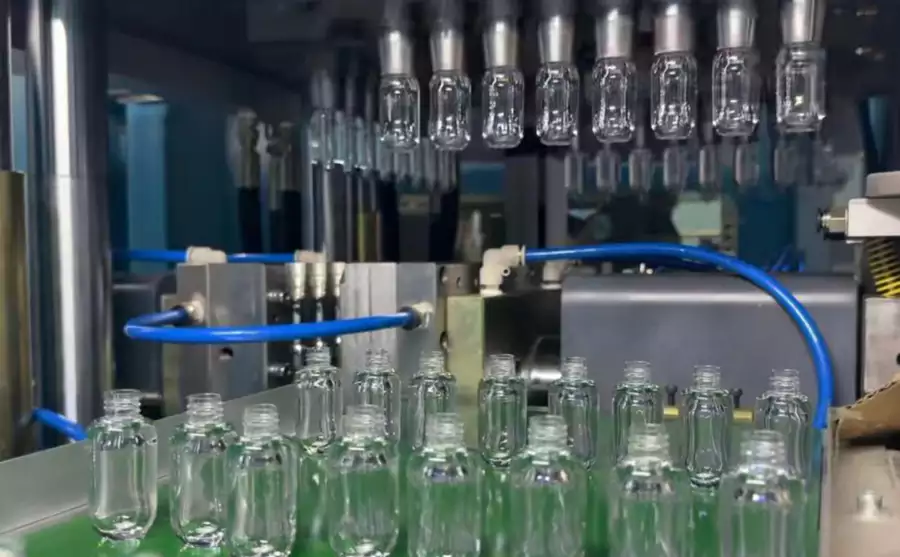
Translate Demand into Required Output
Choose cavitation from geometry and cycle
Choose cavitation from geometry and cycle. Estimate how many cavities fit the machine and mold while maintaining injection balance, blow spacing, cooling and handling clearance. Compare cycle time at each feasible cavity count and calculate good output per hour for the actual bottle. Turn choose cavitation from geometry and cycle into a written project requirement or operating range before comparing machine models. Do not judge this factor from the HMI value alone; pair it with the actual bottle result, then continue with choose cavitation from geometry and cycle only after the relationship is clear. The highest cavity count may deliver worse economics if it lengthens cooling, complicates hot-runner balance or makes mold changes difficult.
Working terms for this specific task
- Define the bottle family
- Record bottle volume, mass, maximum body diameter, height, neck finish, base style, symmetry and whether the family includes multiple shapes.
- Identify the resin and grade
- Specify PET, PP, copolyester or another approved resin, including colorant, recycled content and food or pharmaceutical requirements.
- Set the real output target
- Convert annual demand into good bottles per hour after allowing for planned shifts, changeovers, maintenance, startup scrap and expected utilization.
- Choose cavitation from geometry and cycle
- Estimate how many cavities fit the machine and mold while maintaining injection balance, blow spacing, cooling and handling clearance.
Check Mold, Neck and Transfer Geometry
Check injection capacity and plasticizing margin
Check injection capacity and plasticizing margin. Compare total shot mass, runner or hot-runner requirements and cycle demand with the machine injection unit. Use the supplier sizing calculation for shot utilization and recovery time, and ask for a trial when the project sits near a machine limit. Turn check injection capacity and plasticizing margin into a written project requirement or operating range before comparing machine models. Keep check injection capacity and plasticizing margin at its validated baseline while this item is tested so the bottle response can be attributed to one cause. A marginal injection unit can make cycle time unstable and can increase resin residence time during lower-cavity jobs.
Check stretch and blow capability
Check stretch and blow capability. Confirm axial stretch travel, blow-mold dimensions, mold clamping arrangement, air delivery and available timing control. Map the preform length, bottle height and base position through the transfer and blowing sequence. Turn check stretch and blow capability into a written project requirement or operating range before comparing machine models. Use the smallest controlled change that can prove the effect of check stretch and blow capability, then restore the baseline before a different adjustment such as check stretch and blow capability is tried. Insufficient travel or restricted mold space cannot be repaired later by process tuning.
When translating the requirement into hardware, the HGY50-V3-EV machine configuration illustrates how injection, thermal conditioning, stretch-blow motion, and handling are organized on a compact one-step platform.
| Item | Engineering question | Practical verification |
|---|---|---|
| Define the bottle family | Record bottle volume, mass, maximum body diameter, height, neck finish, base style, symmetry and whether the family includes multiple shapes. | Use approved bottle drawings or measured samples and mark dimensions that control mold pitch, blow-mold envelope, transfer clearance and stretch-rod travel. |
| Identify the resin and grade | Specify PET, PP, copolyester or another approved resin, including colorant, recycled content and food or pharmaceutical requirements. | Ask the machine builder to confirm the plasticizing, injection, conditioning and stretching window for the exact grade rather than assuming all clear resins behave alike. |
| Set the real output target | Convert annual demand into good bottles per hour after allowing for planned shifts, changeovers, maintenance, startup scrap and expected utilization. | Base the requirement on saleable output, not theoretical cycles, then test low and high demand scenarios. |
| Choose cavitation from geometry and cycle | Estimate how many cavities fit the machine and mold while maintaining injection balance, blow spacing, cooling and handling clearance. | Compare cycle time at each feasible cavity count and calculate good output per hour for the actual bottle. |
| Check injection capacity and plasticizing margin | Compare total shot mass, runner or hot-runner requirements and cycle demand with the machine injection unit. | Use the supplier sizing calculation for shot utilization and recovery time, and ask for a trial when the project sits near a machine limit. |
| Check stretch and blow capability | Confirm axial stretch travel, blow-mold dimensions, mold clamping arrangement, air delivery and available timing control. | Map the preform length, bottle height and base position through the transfer and blowing sequence. |
| Release condition | Evaluate tooling cost, spare parts, preventive maintenance access, controls support, technician training, remote diagnostics and future bottle range. Score each machine against the same project sheet and distinguish mandatory requirements from preferences. | |
Audit Utilities and Factory Constraints
Audit utilities
Audit utilities. List electrical service, low-pressure air, blow air, cooling water, chilled water, dryer capacity, ventilation and material handling. Request utility consumption at the proposed bottle and cycle, then compare with available plant capacity and distribution pressure losses. Turn audit utilities into a written project requirement or operating range before comparing machine models. This factor belongs in the setup sheet because it directly changes the conditions under which audit utilities is evaluated. A machine can be mechanically correct yet impossible to run reliably if the compressor, chiller or electrical feeder is undersized.
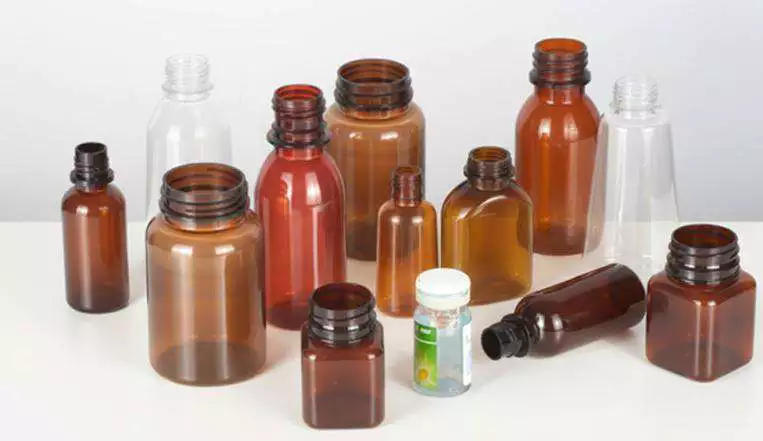
Evaluate Changeover, Quality Control and Serviceability
Assess changeover burden
Assess changeover burden. Count the product changes per week and identify which components change: injection mold, lip cavity, core, conditioning parts, blow mold, stretch rod and take-out tooling. Ask the supplier to demonstrate the change sequence and list lifting, alignment and setup aids. Turn assess changeover burden into a written project requirement or operating range before comparing machine models. If the result differs by cavity, compare the local hardware related to assess changeover burden before moving on to assess changeover burden. A fast cycle machine may lose its advantage in a short-run plant if each format change occupies a large part of the production day.
Define acceptance criteria
Define acceptance criteria. Write bottle-weight, key dimensions, neck finish, leak, visual, wall-distribution and functional tests into the purchase specification. Require the machine trial to use the intended resin and a representative mold, with a defined sampling plan. Turn define acceptance criteria into a written project requirement or operating range before comparing machine models. This item is considered resolved only when the finding remains repeatable after thermal stabilization and the next check, define acceptance criteria, does not contradict it. Without a measurable acceptance plan, buyer and supplier may disagree about what stable production actually means.
Build a Machine Selection Sheet Before Quoting
Compare total ownership conditions
Compare total ownership conditions. Evaluate tooling cost, spare parts, preventive maintenance access, controls support, technician training, remote diagnostics and future bottle range. Score each machine against the same project sheet and distinguish mandatory requirements from preferences. Turn compare total ownership conditions into a written project requirement or operating range before comparing machine models. For repeatability, define who measures compare total ownership conditions, where it is measured, and what bottle evidence is required before checking compare total ownership conditions. Lowest purchase price can become the highest unit cost if the machine requires frequent intervention or cannot accept future products.
Define acceptance criteria: release evidence
Write bottle-weight, key dimensions, neck finish, leak, visual, wall-distribution and functional tests into the purchase specification. Require the machine trial to use the intended resin and a representative mold, with a defined sampling plan. The condition is accepted only when the relevant bottle measurement or functional test remains stable after the process reaches normal operating temperature.
Compare total ownership conditions: failure boundary
Lowest purchase price can become the highest unit cost if the machine requires frequent intervention or cannot accept future products. Use that failure mode as the boundary for the trial and return to the previous stable condition when the bottle response moves in the wrong direction.
For tooling-related decisions, the ASB-12 replacement mold engineering highlights why dimensional interfaces, cooling connections, cavity geometry, and transfer alignment must be treated as part of the machine setup.
Questions that arise specifically in How to Choose the Right ISBM Machine
Should I choose by maximum bottle volume?
No. Maximum volume is only one boundary. Body diameter, height, neck finish, resin, cavity count, shot mass, stretch travel and production target can be more restrictive.
How much spare capacity should I buy?
Use a demand and downtime model rather than a universal percentage. Include growth scenarios, maintenance windows and changeovers, then check whether extra capacity creates unnecessary tooling or utility cost.
Do I need a molding trial before purchase?
A trial is especially valuable for unusual shapes, thick walls, non-PET materials, high recycled content or projects near the machine operating envelope.
What data should I send a supplier?
Provide bottle drawings, samples if available, resin grade, target output, cavity preference, neck finish, quality tests, utility conditions and the expected product mix.
Is one-step ISBM always the best choice?
No. One-step systems are attractive when direct resin-to-container production, surface quality, flexibility or special materials matter, but the project economics still depend on volume and product mix.
Practical conclusion
A robust answer to How to Choose the Right ISBM Machine should survive a restart and a full thermal stabilization period. The setup record should therefore connect define the bottle family with check stretch and blow capability and the bottle result from compare total ownership conditions. Insufficient travel or restricted mold space cannot be repaired later by process tuning.