
How to Automate ISBM Bottle Quality Inspection: Practical Technical Guide
The useful answer to How to Automate ISBM Bottle Quality Inspection comes from the interaction between defect library, base and gate, and validation. The sections below turn those factors into checks that can be repeated on a production machine.
Defect libraryBase and gateValidation
What this article must prove
Automate bottle quality inspection by defining defects first, selecting cameras and sensors for the optical task, controlling bottle presentation, linking cavity traceability and proving false-reject/escape performance. A defensible baseline begins with Collect real examples of black specks, haze, gate marks, flash, short blow, deformation, scratches and contamination. The first verification method is Label by severity and customer specification. From there, the article follows only checks that can materially change the answer promised by the title. Where an exact operating value depends on the resin grade, bottle drawing, mold, or delivered machine, the approved project specification controls the final setting.
✔️ Defect library
Collect real examples of black specks, haze, gate marks, flash, short blow, deformation, scratches and contamination. Label by severity and customer specification.
✔️ Inspection timing
Choose whether to inspect immediately after molding, after cooling, after leak testing or before packing. Place each check where the defect is stable and bottle presentation is controlled.
✔️ Lighting
Use backlight, bright-field, dark-field or polarized arrangements for transparent bottle defects. Test the real resin colors and surface gloss.
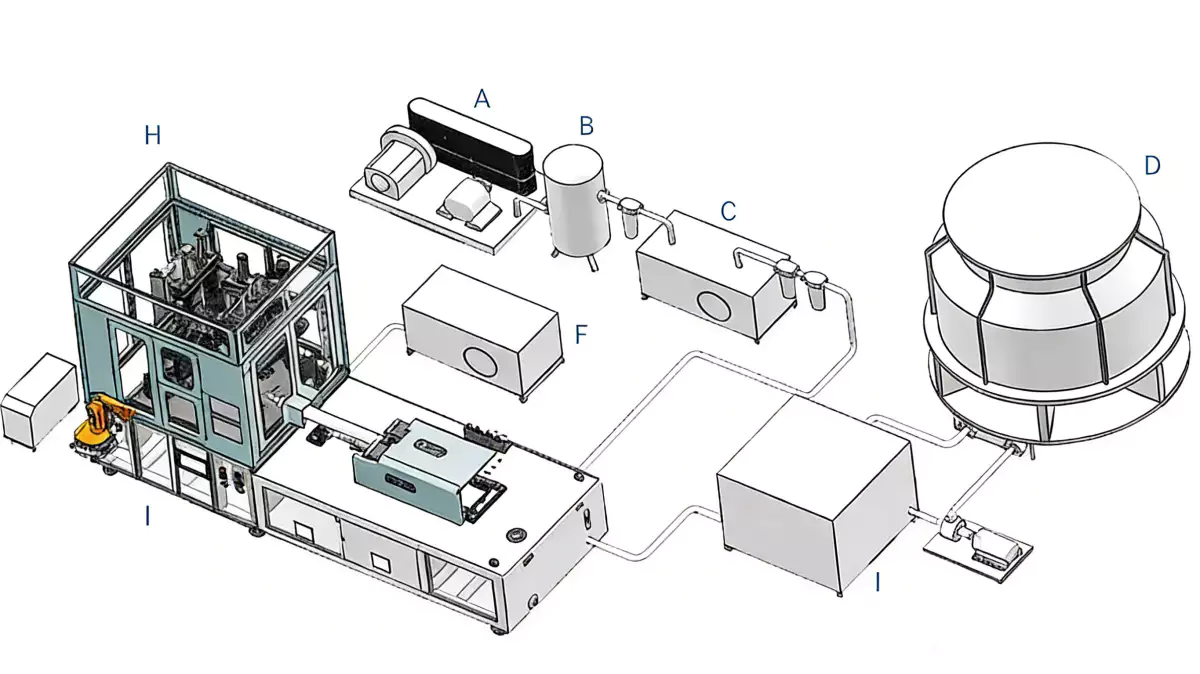
For this topic, the one-step ISBM machine portfolio provides useful equipment context for connecting the process requirement to an integrated resin-to-bottle platform.
Define What the Vision System Must Decide
Defect library
Defect library. Collect real examples of black specks, haze, gate marks, flash, short blow, deformation, scratches and contamination. Label by severity and customer specification. For defect library, define the defect or measurement decision first and then choose sensors, lighting, or logic that can prove it. For this topic, the engineering log should connect defect library with the observed bottle condition and then test whether defect library supports the same diagnosis. Buying a camera before defining defects leads to impressive images but weak decisions.
Choose Inspection Points from Actual Defects
Inspection timing
Inspection timing. Choose whether to inspect immediately after molding, after cooling, after leak testing or before packing. Place each check where the defect is stable and bottle presentation is controlled. For inspection timing, define the defect or measurement decision first and then choose sensors, lighting, or logic that can prove it. Do not judge this factor from the HMI value alone; pair it with the actual bottle result, then continue with inspection timing only after the relationship is clear. A warm bottle may change shape after the vision decision.
Control Bottle Presentation and Lighting
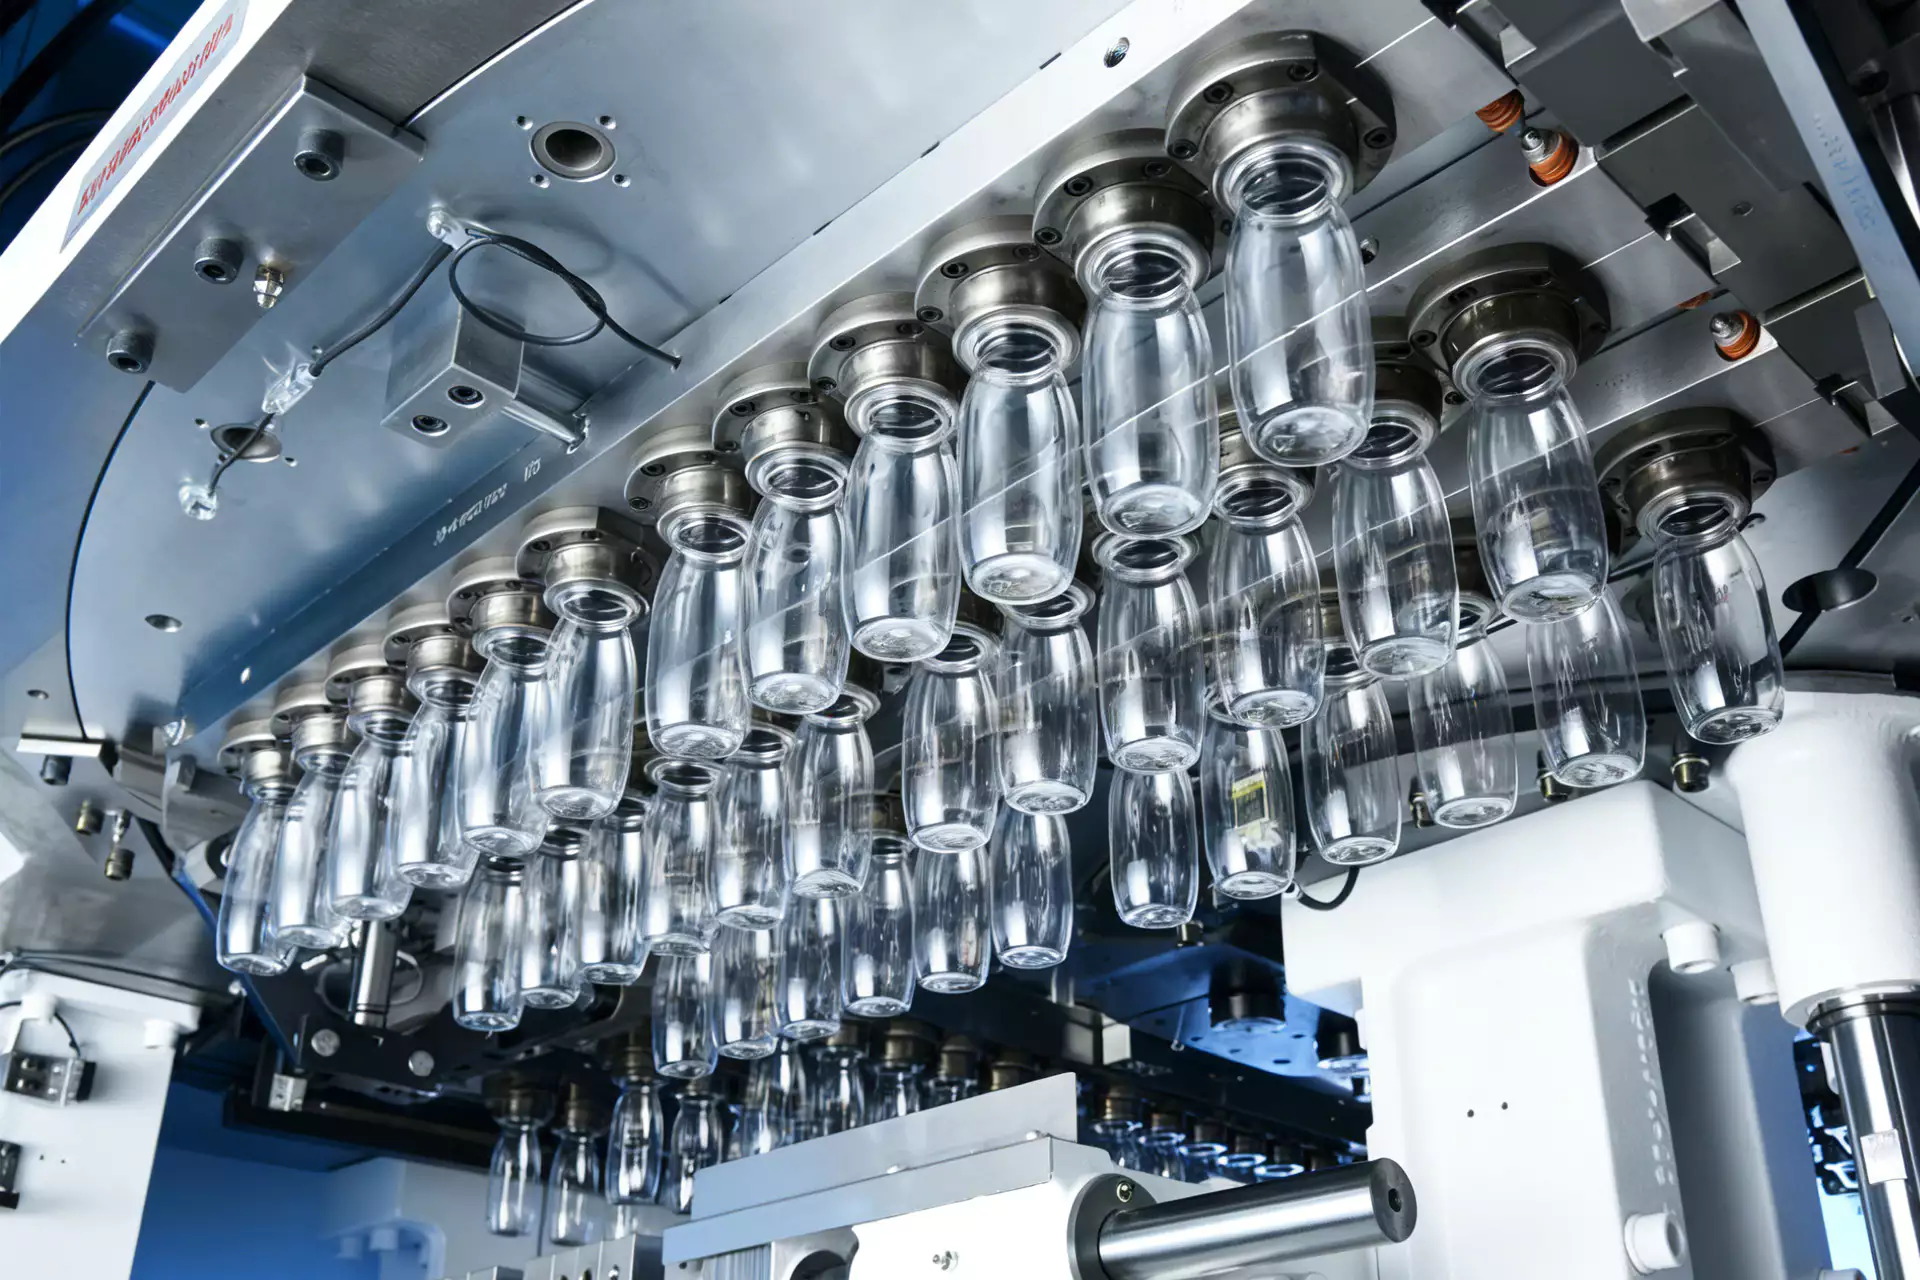
Lighting
Lighting. Use backlight, bright-field, dark-field or polarized arrangements for transparent bottle defects. Test the real resin colors and surface gloss. For lighting, define the defect or measurement decision first and then choose sensors, lighting, or logic that can prove it. Keep lighting at its validated baseline while this item is tested so the bottle response can be attributed to one cause. One lighting setup rarely reveals both black specks and subtle surface scratches equally well.
Bottle orientation
Bottle orientation. Control rotation and position for oval bottles, logos, gates or asymmetric panels. Use mechanical guides or tracking features and verify repeatability at production speed. For bottle orientation, define the defect or measurement decision first and then choose sensors, lighting, or logic that can prove it. Use the smallest controlled change that can prove the effect of bottle orientation, then restore the baseline before a different adjustment such as bottle orientation is tried. Random orientation causes false rejects when the system compares the wrong region.
Working terms for this specific task
- Defect library
- Collect real examples of black specks, haze, gate marks, flash, short blow, deformation, scratches and contamination.
- Inspection timing
- Choose whether to inspect immediately after molding, after cooling, after leak testing or before packing.
- Lighting
- Use backlight, bright-field, dark-field or polarized arrangements for transparent bottle defects.
- Bottle orientation
- Control rotation and position for oval bottles, logos, gates or asymmetric panels.
Inspect Neck, Body, Base and Gate Separately
Neck inspection
Neck inspection. Check thread/snap finish, flash, ovality indicators and contamination using suitable optics. Combine vision with gauge or dimensional sensors when absolute dimensions are critical. For neck inspection, define the defect or measurement decision first and then choose sensors, lighting, or logic that can prove it. This factor belongs in the setup sheet because it directly changes the conditions under which neck inspection is evaluated. A visually clean neck can still be dimensionally out of tolerance.
| アイテム | Engineering question | Practical verification |
|---|---|---|
| Defect library | Collect real examples of black specks, haze, gate marks, flash, short blow, deformation, scratches and contamination. | Label by severity and customer specification. |
| Inspection timing | Choose whether to inspect immediately after molding, after cooling, after leak testing or before packing. | Place each check where the defect is stable and bottle presentation is controlled. |
| Lighting | Use backlight, bright-field, dark-field or polarized arrangements for transparent bottle defects. | Test the real resin colors and surface gloss. |
| Bottle orientation | Control rotation and position for oval bottles, logos, gates or asymmetric panels. | Use mechanical guides or tracking features and verify repeatability at production speed. |
| Neck inspection | Check thread/snap finish, flash, ovality indicators and contamination using suitable optics. | Combine vision with gauge or dimensional sensors when absolute dimensions are critical. |
| Base and gate | Inspect gate centering, black specks, cracks, base deformation and foot geometry. | Use multiple camera angles if deep push-up features hide the gate. |
| Release condition | Challenge the system with known defect sets and quantify false reject and escape rates across SKUs. Repeat after lighting, camera, bottle or software changes. | |
Add Dimensional or Leak Tests Where Vision Is Not Enough
Base and gate
Base and gate. Inspect gate centering, black specks, cracks, base deformation and foot geometry. Use multiple camera angles if deep push-up features hide the gate. For base and gate, define the defect or measurement decision first and then choose sensors, lighting, or logic that can prove it. If the result differs by cavity, compare the local hardware related to base and gate before moving on to base and gate. A single top camera may miss a defect on a recessed base.
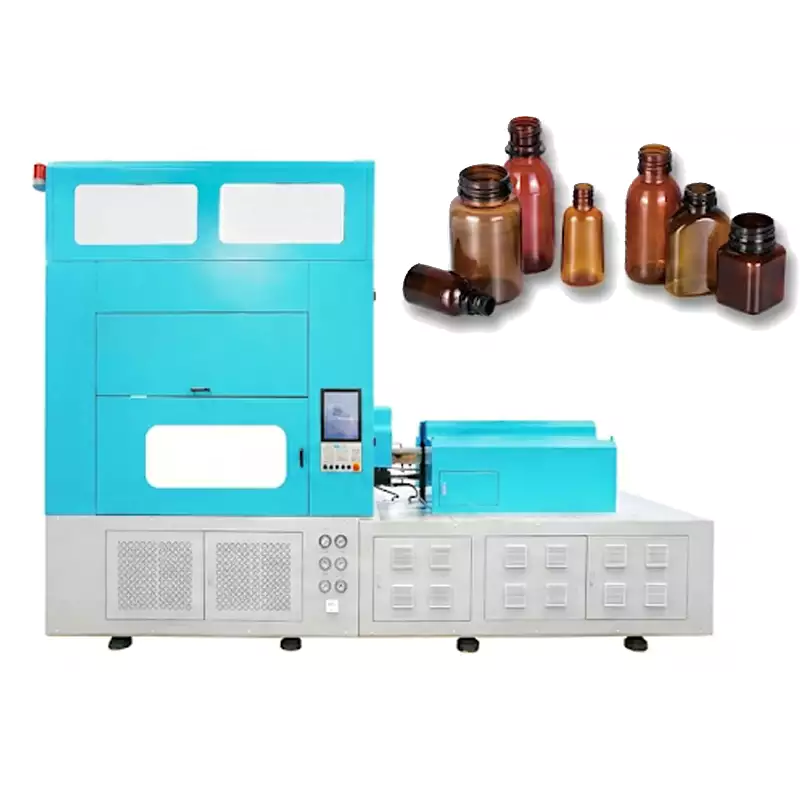
その multi-material ISBM platform overview also helps frame how machine architecture, materials, utilities, and bottle applications fit together at line level.
Link Defects to Cavity and Recipe
Body inspection
Body inspection. Detect color, haze, short blow, panel deformation and foreign particles within the practical limits of the optical system. Teach the system using real good/bad distributions rather than perfect CAD images only. For body inspection, define the defect or measurement decision first and then choose sensors, lighting, or logic that can prove it. This item is considered resolved only when the finding remains repeatable after thermal stabilization and the next check, body inspection, does not contradict it. Transparent walls and reflections can create false edges that confuse simple thresholding.
Cavity traceability
Cavity traceability. Associate each bottle with mold cavity where machine and handling sequence allow it. Trend defect rate by cavity. For cavity traceability, define the defect or measurement decision first and then choose sensors, lighting, or logic that can prove it. For repeatability, define who measures cavity traceability, where it is measured, and what bottle evidence is required before checking cavity traceability. Vision without cavity data identifies scrap but misses the opportunity to repair the source quickly.
Design Rejection and Verification Logic
Reject mechanism
Reject mechanism. Use a confirmed reject action and sensor to verify the bad bottle leaves the good stream. Design for the maximum line speed and bottle variation. For reject mechanism, define the defect or measurement decision first and then choose sensors, lighting, or logic that can prove it. Record the bottle response beside the setting or measurement for reject mechanism; that record becomes the starting condition when reject mechanism is reviewed. A correct inspection is useless if the reject gate occasionally misses.
Validate False Rejects, Escapes and Changeovers
Validation
Validation. Challenge the system with known defect sets and quantify false reject and escape rates across SKUs. Repeat after lighting, camera, bottle or software changes. For validation, define the defect or measurement decision first and then choose sensors, lighting, or logic that can prove it. If the symptom or performance target does not move as predicted, return validation to the baseline and investigate validation rather than stacking corrections. A vision system that is not challenged systematically can drift from the customer quality standard.
Reject mechanism: release evidence
Use a confirmed reject action and sensor to verify the bad bottle leaves the good stream. Design for the maximum line speed and bottle variation. The condition is accepted only when the relevant bottle measurement or functional test remains stable after the process reaches normal operating temperature.
Validation: failure boundary
A vision system that is not challenged systematically can drift from the customer quality standard. Use that failure mode as the boundary for the trial and return to the previous stable condition when the bottle response moves in the wrong direction.
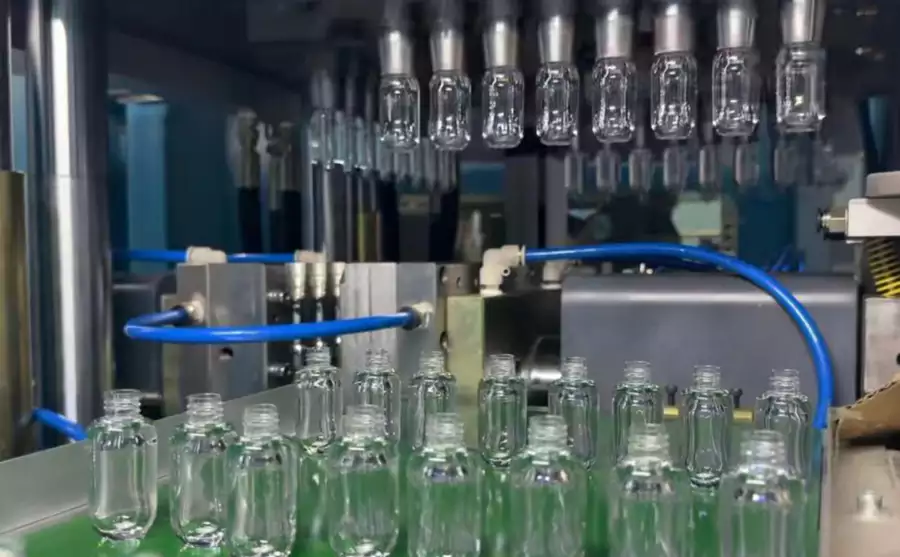
When translating the requirement into hardware, the HGY50-V3-EV machine configuration illustrates how injection, thermal conditioning, stretch-blow motion, and handling are organized on a compact one-step platform.
Questions that arise specifically in How to Automate ISBM Bottle Quality Inspection
Can vision measure wall thickness?
Standard vision is not a direct substitute for dedicated thickness measurement. Use the sensing method appropriate to the critical characteristic.
Why inspect by cavity?
Cavity trends turn inspection data into maintenance information, helping locate mold, cooling, valve or rod problems.
How do I reduce false rejects on clear bottles?
Stabilize presentation and lighting first, then tune algorithms using representative good and bad samples.
Should inspection be directly after ejection?
Only if the defect is already stable. Some dimensional or base problems develop as the bottle cools, so inspection location should match the failure mode.
What proves the vision system works?
A documented challenge test using known defects, multiple SKUs and verification of both rejected and accepted bottles.
Practical conclusion
A robust answer to How to Automate ISBM Bottle Quality Inspection should survive a restart and a full thermal stabilization period. The setup record should therefore connect defect library with base and gate and the bottle result from validation. A single top camera may miss a defect on a recessed base.