
Why Do ISBM Bottles Fail During Stretch Blowing?: Practical Technical Guide
For Why Do ISBM Bottles Fail During Stretch Blowing?, the objective is not to find one universal setting. It is to prove which combination of failure mode, cold region, and resin condition produces the required bottle under stable factory conditions.
Failure modeRod timingRecovery plan
Бұл мақала нені дәлелдеуі керек
Diagnose failures during stretch blowing such as rupture, split, blowout, fold, rod puncture or incomplete bubble by identifying exactly when the preform loses stability. A defensible baseline begins with Separate rupture, pinhole, split, fold, rod contact, incomplete expansion and neck pull-out. The first verification method is Collect failed pieces by cavity and mark where the tear began. From there, the article follows only checks that can materially change the answer promised by the title. Where an exact operating value depends on the resin grade, bottle drawing, mold, or delivered machine, the approved project specification controls the final setting.
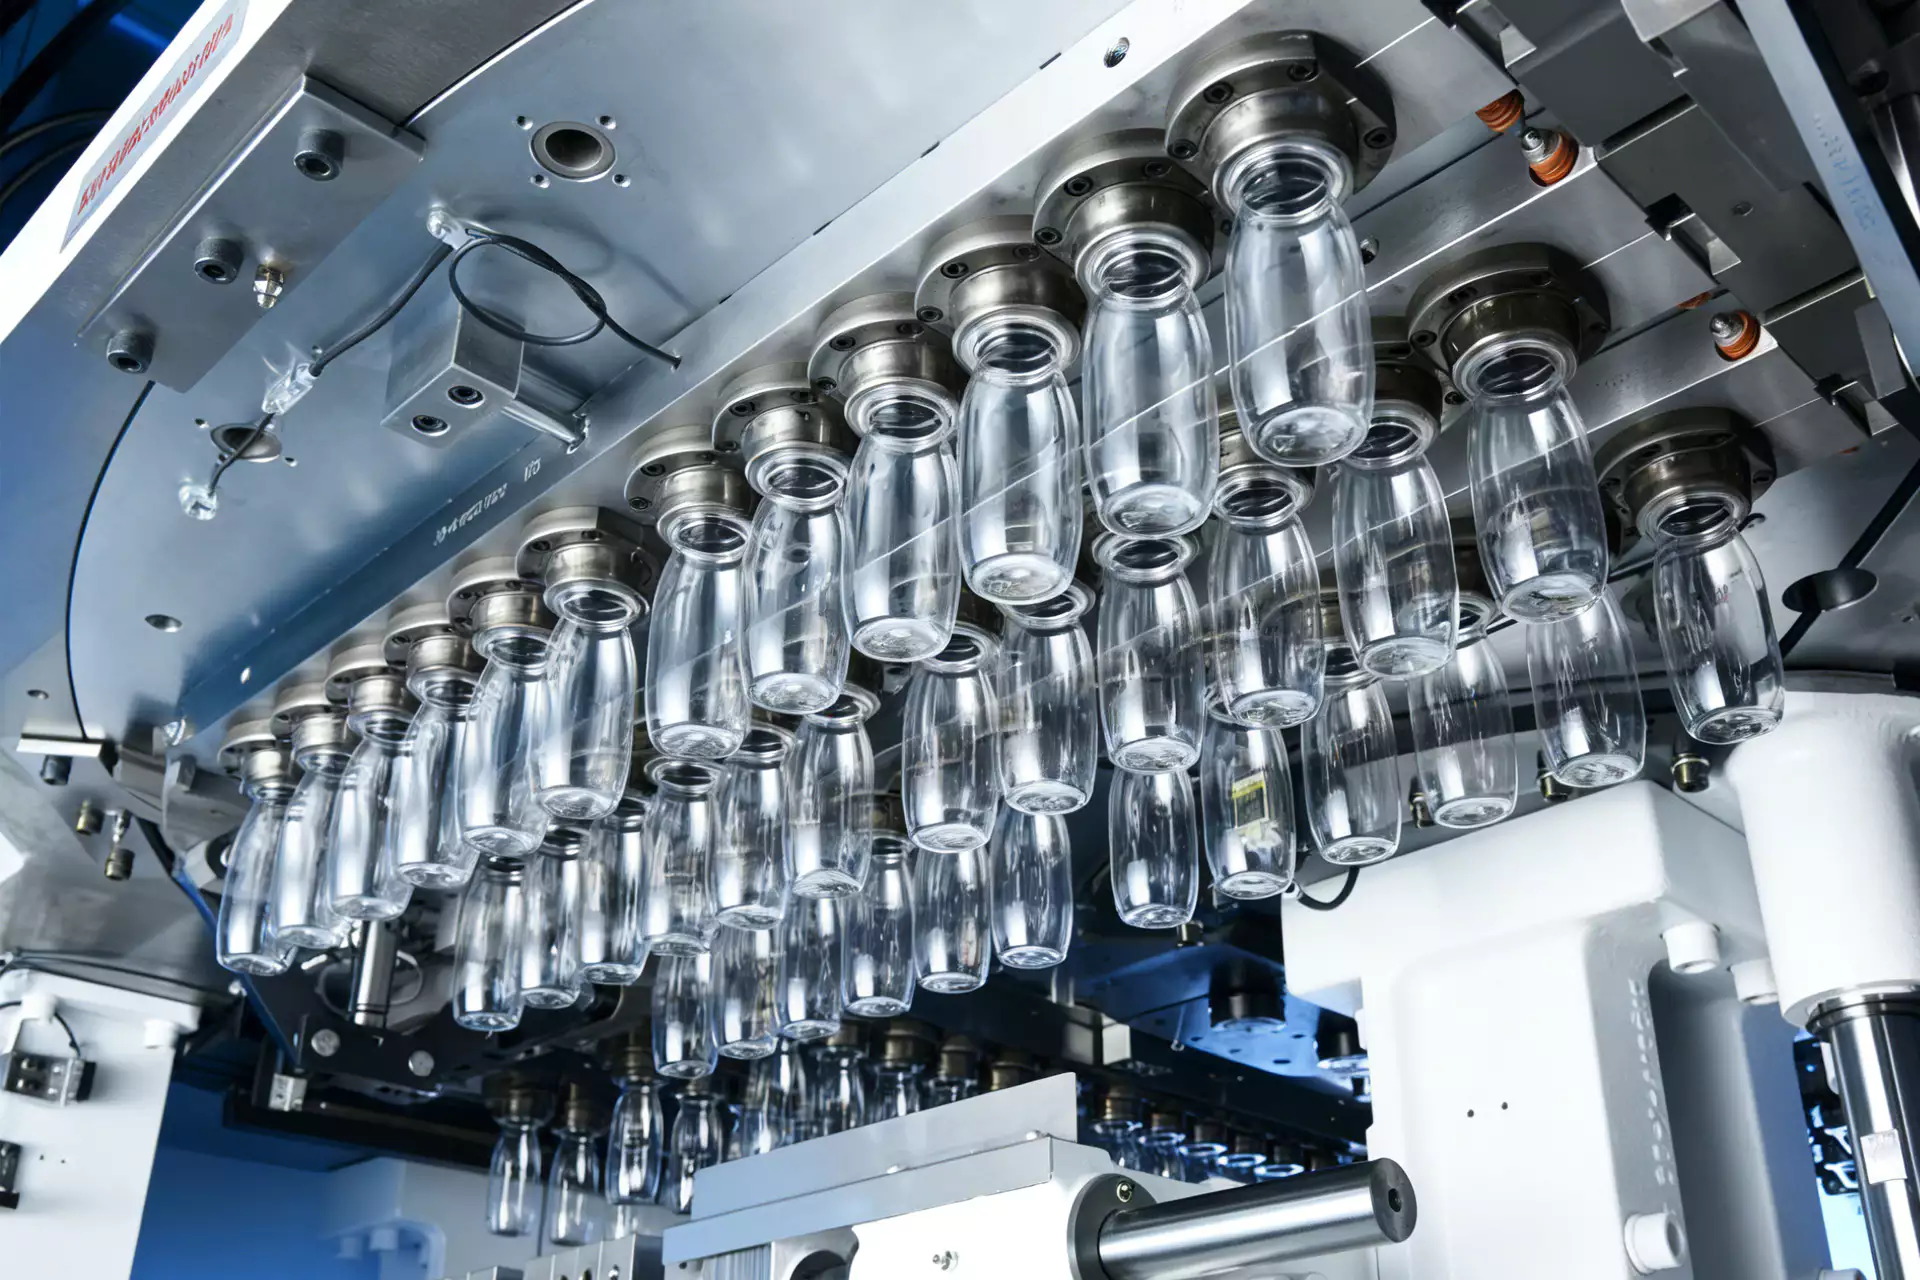
✔️ Failure mode
Separate rupture, pinhole, split, fold, rod contact, incomplete expansion and neck pull-out. Collect failed pieces by cavity and mark where the tear began.
✔️ Preform integrity
Inspect gate, weld-like flow areas, bubbles, black specks, wall eccentricity and short fill. Weigh and measure preforms from the failing cavity.
✔️ Cold region
A locally cold preform may not extend before stress exceeds its capability. Map temperature at the location that feeds the failure.
Құралдарға қатысты шешімдер үшін, ASB-12 ауыстыру қалыптарын жасау өлшемді интерфейстерді, салқындату қосылымдарын, қуыс геометриясын және берілістерді туралауды машинаны орнатудың бөлігі ретінде қарастыру керектігін атап көрсетеді.
Identify the Exact Moment of Failure
Failure mode
Failure mode. Separate rupture, pinhole, split, fold, rod contact, incomplete expansion and neck pull-out. Collect failed pieces by cavity and mark where the tear began. The diagnostic test should show whether failure mode can physically create the observed defect before a repair or parameter change is accepted. If the result differs by cavity, compare the local hardware related to failure mode before moving on to failure mode. Different break patterns point to different causes.
Inspect the Preform for a Weak Starting Condition
Preform integrity
Preform integrity. Inspect gate, weld-like flow areas, bubbles, black specks, wall eccentricity and short fill. Weigh and measure preforms from the failing cavity. The diagnostic test should show whether preform integrity can physically create the observed defect before a repair or parameter change is accepted. This item is considered resolved only when the finding remains repeatable after thermal stabilization and the next check, preform integrity, does not contradict it. A weak preform can burst even with a previously stable blow recipe.
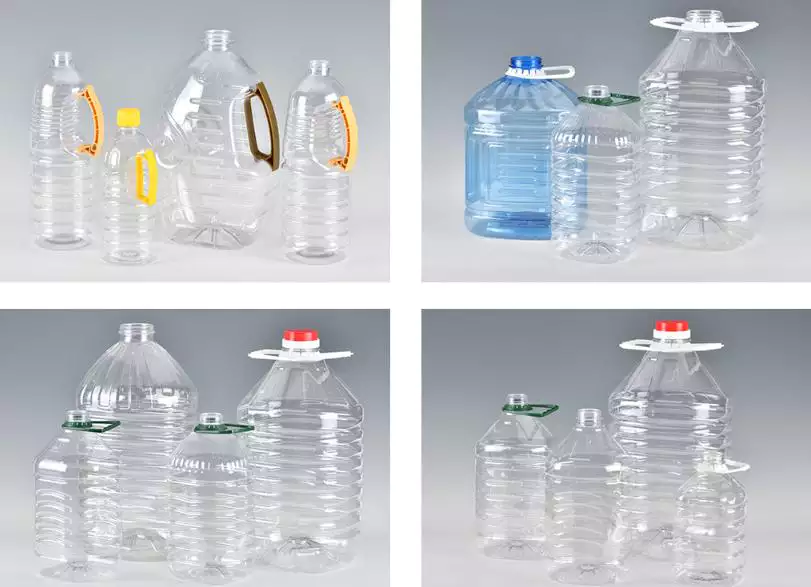
Check Temperature against the Failure Location
Cold region
Cold region. A locally cold preform may not extend before stress exceeds its capability. Map temperature at the location that feeds the failure. The diagnostic test should show whether cold region can physically create the observed defect before a repair or parameter change is accepted. For repeatability, define who measures cold region, where it is measured, and what bottle evidence is required before checking cold region. Increasing final pressure against a cold region often makes rupture more violent.
Overheated region
Overheated region. An overly soft region can sag, stick to the rod or thin until it bursts. Check heating/conditioning and whether the failure changes after cycle time shifts. The diagnostic test should show whether overheated region can physically create the observed defect before a repair or parameter change is accepted. Record the bottle response beside the setting or measurement for overheated region; that record becomes the starting condition when overheated region is reviewed. A hot preform can fail differently from a cold one even if both rupture.
Осы нақты тапсырма үшін жұмыс шарттары
- Failure mode
- Separate rupture, pinhole, split, fold, rod contact, incomplete expansion and neck pull-out.
- Preform integrity
- Inspect gate, weld-like flow areas, bubbles, black specks, wall eccentricity and short fill.
- Cold region
- A locally cold preform may not extend before stress exceeds its capability.
- Overheated region
- An overly soft region can sag, stick to the rod or thin until it bursts.
Check Stretch Rod Alignment and Motion
Rod centering
Rod centering. Verify the stretch rod enters the preform without rubbing the wall. Inspect tip, guide wear and mold alignment. The diagnostic test should show whether rod centering can physically create the observed defect before a repair or parameter change is accepted. If the symptom or performance target does not move as predicted, return rod centering to the baseline and investigate rod centering rather than stacking corrections. A rod can puncture or drag one side of a thin preform.
| Тауар | Инженерлік сұрақ | Тәжірибелік тексеру |
|---|---|---|
| Failure mode | Separate rupture, pinhole, split, fold, rod contact, incomplete expansion and neck pull-out. | Collect failed pieces by cavity and mark where the tear began. |
| Preform integrity | Inspect gate, weld-like flow areas, bubbles, black specks, wall eccentricity and short fill. | Weigh and measure preforms from the failing cavity. |
| Cold region | A locally cold preform may not extend before stress exceeds its capability. | Map temperature at the location that feeds the failure. |
| Overheated region | An overly soft region can sag, stick to the rod or thin until it bursts. | Check heating/conditioning and whether the failure changes after cycle time shifts. |
| Rod centering | Verify the stretch rod enters the preform without rubbing the wall. | Inspect tip, guide wear and mold alignment. |
| Rod timing | The rod must establish controlled axial stretch before radial blow becomes dominant. | Compare failure timing with the motion sequence. |
| Босату шарты | Return to the last known stable recipe, verify preform and utilities, then adjust one subsystem at a time. Document the change that eliminates the failure and revalidate all cavities. | |
Check Pre-Blow Timing and Bubble Stability
Rod timing
Rod timing. The rod must establish controlled axial stretch before radial blow becomes dominant. Compare failure timing with the motion sequence. The diagnostic test should show whether rod timing can physically create the observed defect before a repair or parameter change is accepted. If a change improves one region but worsens another, compare the material or energy movement between rod timing and rod timing instead of accepting the first visual improvement. Late rod action can create an uncontrolled bubble; excessively aggressive motion can overstress the gate/base.
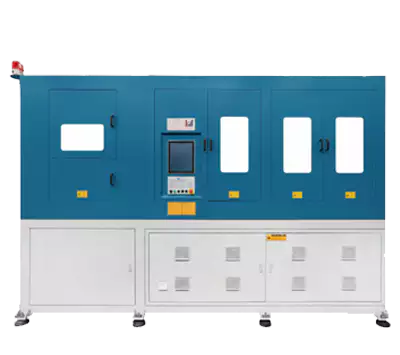
For a compatibility check, the ASB-12 blow mold compatibility shows the kinds of mechanical and thermal interfaces that should be verified before a tooling or process change is released to production.
Check Final Blow, Venting and Mold Contact
Pre-blow
Pre-blow. Too little initial air can allow folding or rod contact; too much too early can create local over-stretch. Adjust in small steps while observing the bubble and wall map. The diagnostic test should show whether pre-blow can physically create the observed defect before a repair or parameter change is accepted. Where the outcome depends on material grade or tooling geometry, confirm the approved project limit and then use pre-blow as the next cross-check. Large pressure changes can relocate rather than eliminate the failure.
Final blow
Final blow. Verify pressure rise, valve function and venting only after the bubble forms correctly. Check whether failure occurs before or after mold contact. The diagnostic test should show whether final blow can physically create the observed defect before a repair or parameter change is accepted. When the project is near a machine or material limit, require a molding trial that isolates final blow and then challenges final blow under the same bottle specification. Final pressure is not the root cause when the preform bursts before the cavity is reached.
Check Resin Degradation or Contamination
Resin condition
Resin condition. Review drying, melt residence, contamination and recycled-material variability. Look for concurrent haze, brittleness, viscosity shift or black specks. The diagnostic test should show whether resin condition can physically create the observed defect before a repair or parameter change is accepted. The safest interpretation comes from comparing at least several stable cycles and then verifying resin condition without changing the rest of the recipe. Material degradation can reduce stretch toughness and make a formerly stable process fail.
Rebuild the Process from a Stable Baseline
Recovery plan
Recovery plan. Return to the last known stable recipe, verify preform and utilities, then adjust one subsystem at a time. Document the change that eliminates the failure and revalidate all cavities. The diagnostic test should show whether recovery plan can physically create the observed defect before a repair or parameter change is accepted. A useful production trial keeps the resin lot and cavity identification fixed while recovery plan is changed, followed by a separate check of recovery plan. Continuing to stack emergency adjustments makes recurrence likely.
Resin condition: release evidence
Review drying, melt residence, contamination and recycled-material variability. Look for concurrent haze, brittleness, viscosity shift or black specks. The condition is accepted only when the relevant bottle measurement or functional test remains stable after the process reaches normal operating temperature.
Recovery plan: failure boundary
Continuing to stack emergency adjustments makes recurrence likely. Use that failure mode as the boundary for the trial and return to the previous stable condition when the bottle response moves in the wrong direction.
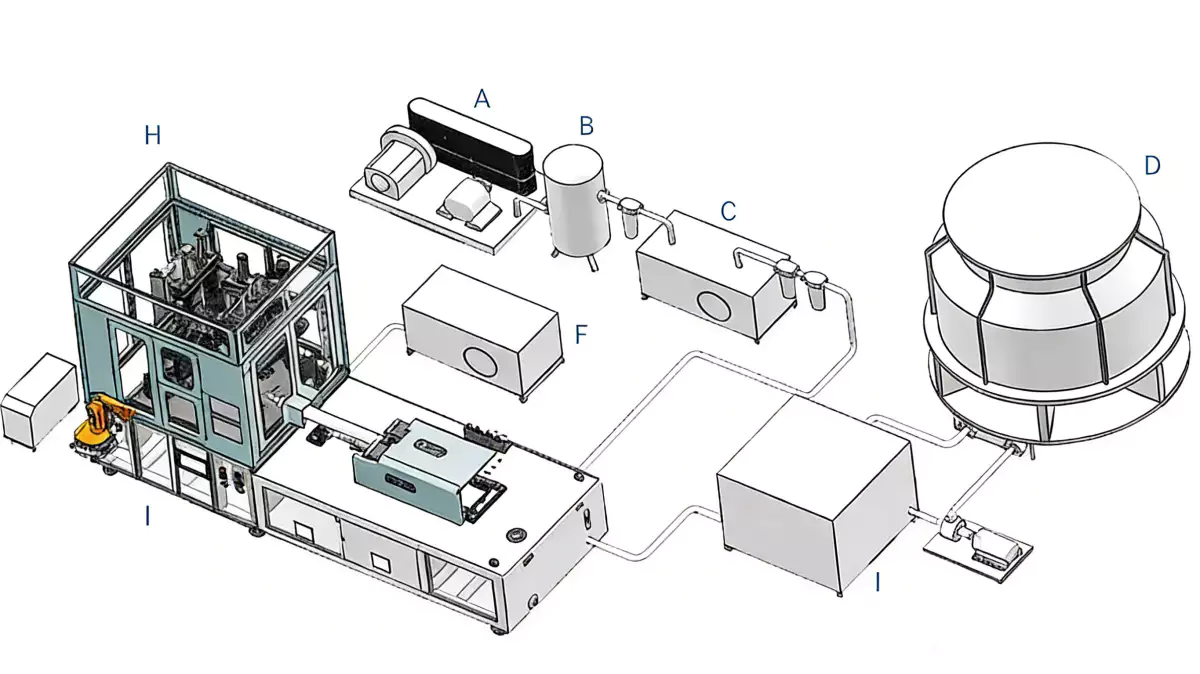
Талапты аппараттық құралға айналдырған кезде, HGY50-V3-EV машина конфигурациясы инъекция, термиялық кондиционерлеу, созылу-үрлеу қозғалысы және басқарудың ықшам бір сатылы платформада қалай ұйымдастырылғанын көрсетеді.
Questions that arise specifically in Why Do ISBM Bottles Fail During Stretch Blowing?
Why does a preform split before touching the mold?
Check material condition, local temperature, preform wall, rod contact and pre-blow timing because the failure occurs before final mold pressure can help.
Why do failures start after a resin lot change?
Drying, viscosity, contamination, color or recycled-content variability can change the stretch window. Verify material identity and preparation.
Can a misaligned stretch rod cause a blowout?
Yes. Rod contact can damage one wall or force an asymmetric bubble.
Should I lower final blow pressure first?
Only if evidence shows failure occurs during final pressure. Determine the timing of the rupture before changing pressure.
What sample should I inspect first?
Keep the failed bottle or preform and a cavity-matched unblown preform so you can compare the starting condition and break location.
Практикалық қорытынды
The final decision on Why Do ISBM Bottles Fail During Stretch Blowing? is made by the bottle, not by a single displayed parameter. Use failure mode to establish the input, rod timing to test the mechanism, and recovery plan to prove the output under stable conditions. Continuing to stack emergency adjustments makes recurrence likely.