
Hur man automatiserar ISBM-flaskkvalitetsinspektion: Praktisk teknisk guide
Det användbara svaret på frågan om hur man automatiserar ISBM-flaskkvalitetsinspektion kommer från samspelet mellan defektbibliotek, bas och gate, samt validering. Avsnitten nedan omvandlar dessa faktorer till kontroller som kan upprepas på en produktionsmaskin.
DefektbibliotekBas och grindGodkännande
Vad den här artikeln måste bevisa
Automatisera flaskkvalitetsinspektion genom att först definiera defekter, välja kameror och sensorer för den optiska uppgiften, kontrollera flaskpresentationen, länka spårbarhet av kavitet och bevisa prestanda för falskt kasserade/escape. En försvarbar baslinje börjar med "Samla in verkliga exempel på svarta fläckar, dis, grindmärken, blixtar, korta slag, deformation, repor och kontaminering". Den första verifieringsmetoden är "Märka efter allvarlighetsgrad och kundspecifikation". Därifrån följer artikeln endast kontroller som väsentligt kan ändra det svar som utlovas i titeln. Där ett exakt driftsvärde beror på hartskvalitet, flaskritning, form eller levererad maskin, styr den godkända projektspecifikationen den slutliga inställningen.
✔️ Defektbibliotek
Samla verkliga exempel på svarta fläckar, dis, grindmärken, blixtar, korta slag, deformation, repor och kontaminering. Märk ut efter allvarlighetsgrad och kundspecifikation.
✔️ Besiktningstid
Välj om du vill inspektera omedelbart efter gjutning, efter kylning, efter läckagetest eller före packning. Placera varje kontroll där defekten är stabil och flaskans presentation kontrolleras.
✔️ Belysning
Använd bakgrundsbelysning, ljusfältsbelysning, mörkfältsbelysning eller polariserade arrangemang för defekter i genomskinliga flaskor. Testa de verkliga hartsfärgerna och ytglansen.
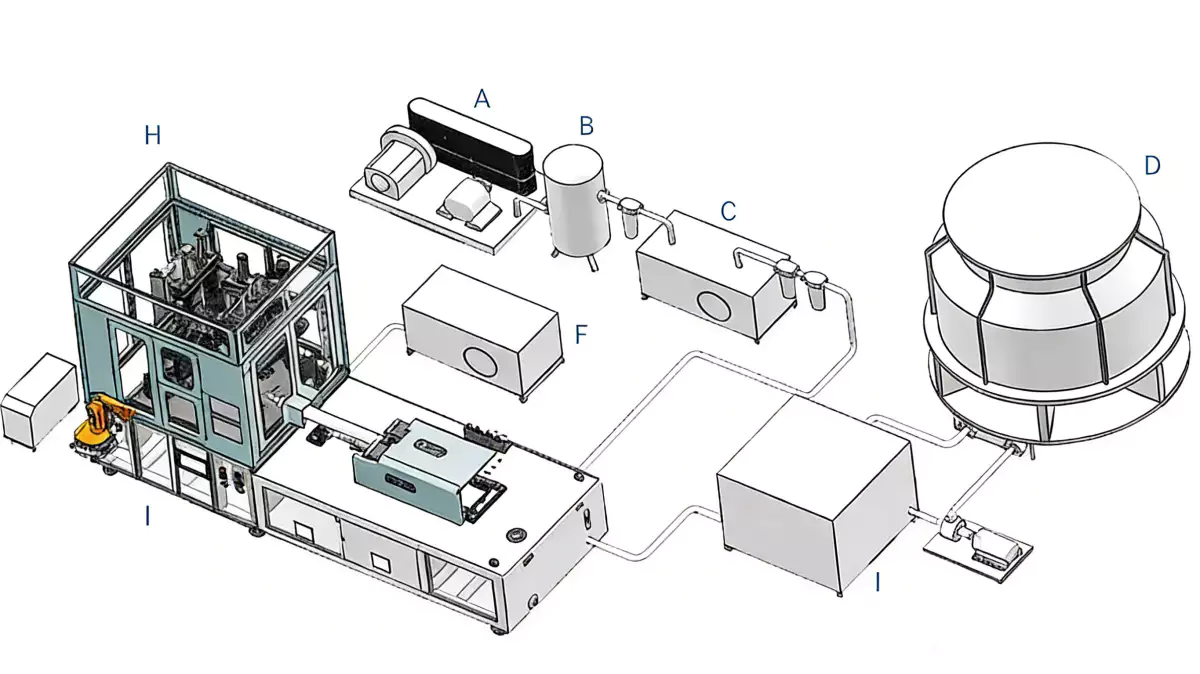
För detta ämne, ISBM-maskinportfölj i ett steg ger användbar utrustningskontext för att koppla processkravet till en integrerad plattform från harts till flaska.
Definiera vad visionssystemet måste avgöra
Defektbibliotek
Defektbibliotek. Samla in verkliga exempel på svarta fläckar, dis, grindmärken, blixtar, korta slag, deformation, repor och kontaminering. Märk ut efter allvarlighetsgrad och kundspecifikation. För defektbiblioteket, definiera först defekten eller mätbeslutet och välj sedan sensorer, belysning eller logik som kan bevisa det. För detta ämne bör ingenjörsloggen koppla defektbiblioteket till det observerade flaskans tillstånd och sedan testa om defektbiblioteket stöder samma diagnos. Att köpa en kamera innan defekter definieras leder till imponerande bilder men svaga beslut.
Välj inspektionspunkter från faktiska defekter
Inspektionstidpunkt
Inspektionstidpunkt. Välj om du vill inspektera omedelbart efter gjutning, efter kylning, efter läckagetest eller före packning. Placera varje kontroll där defekten är stabil och flaskans presentation kontrolleras. För inspektionstidpunkten, definiera först defekten eller mätbeslutet och välj sedan sensorer, belysning eller logik som kan bevisa det. Bedöm inte denna faktor enbart utifrån HMI-värdet; para ihop det med det faktiska flaskresultatet och fortsätt sedan med inspektionstidpunkten först efter att sambandet är tydligt. En varm flaska kan ändra form efter inspektionsbeslutet.
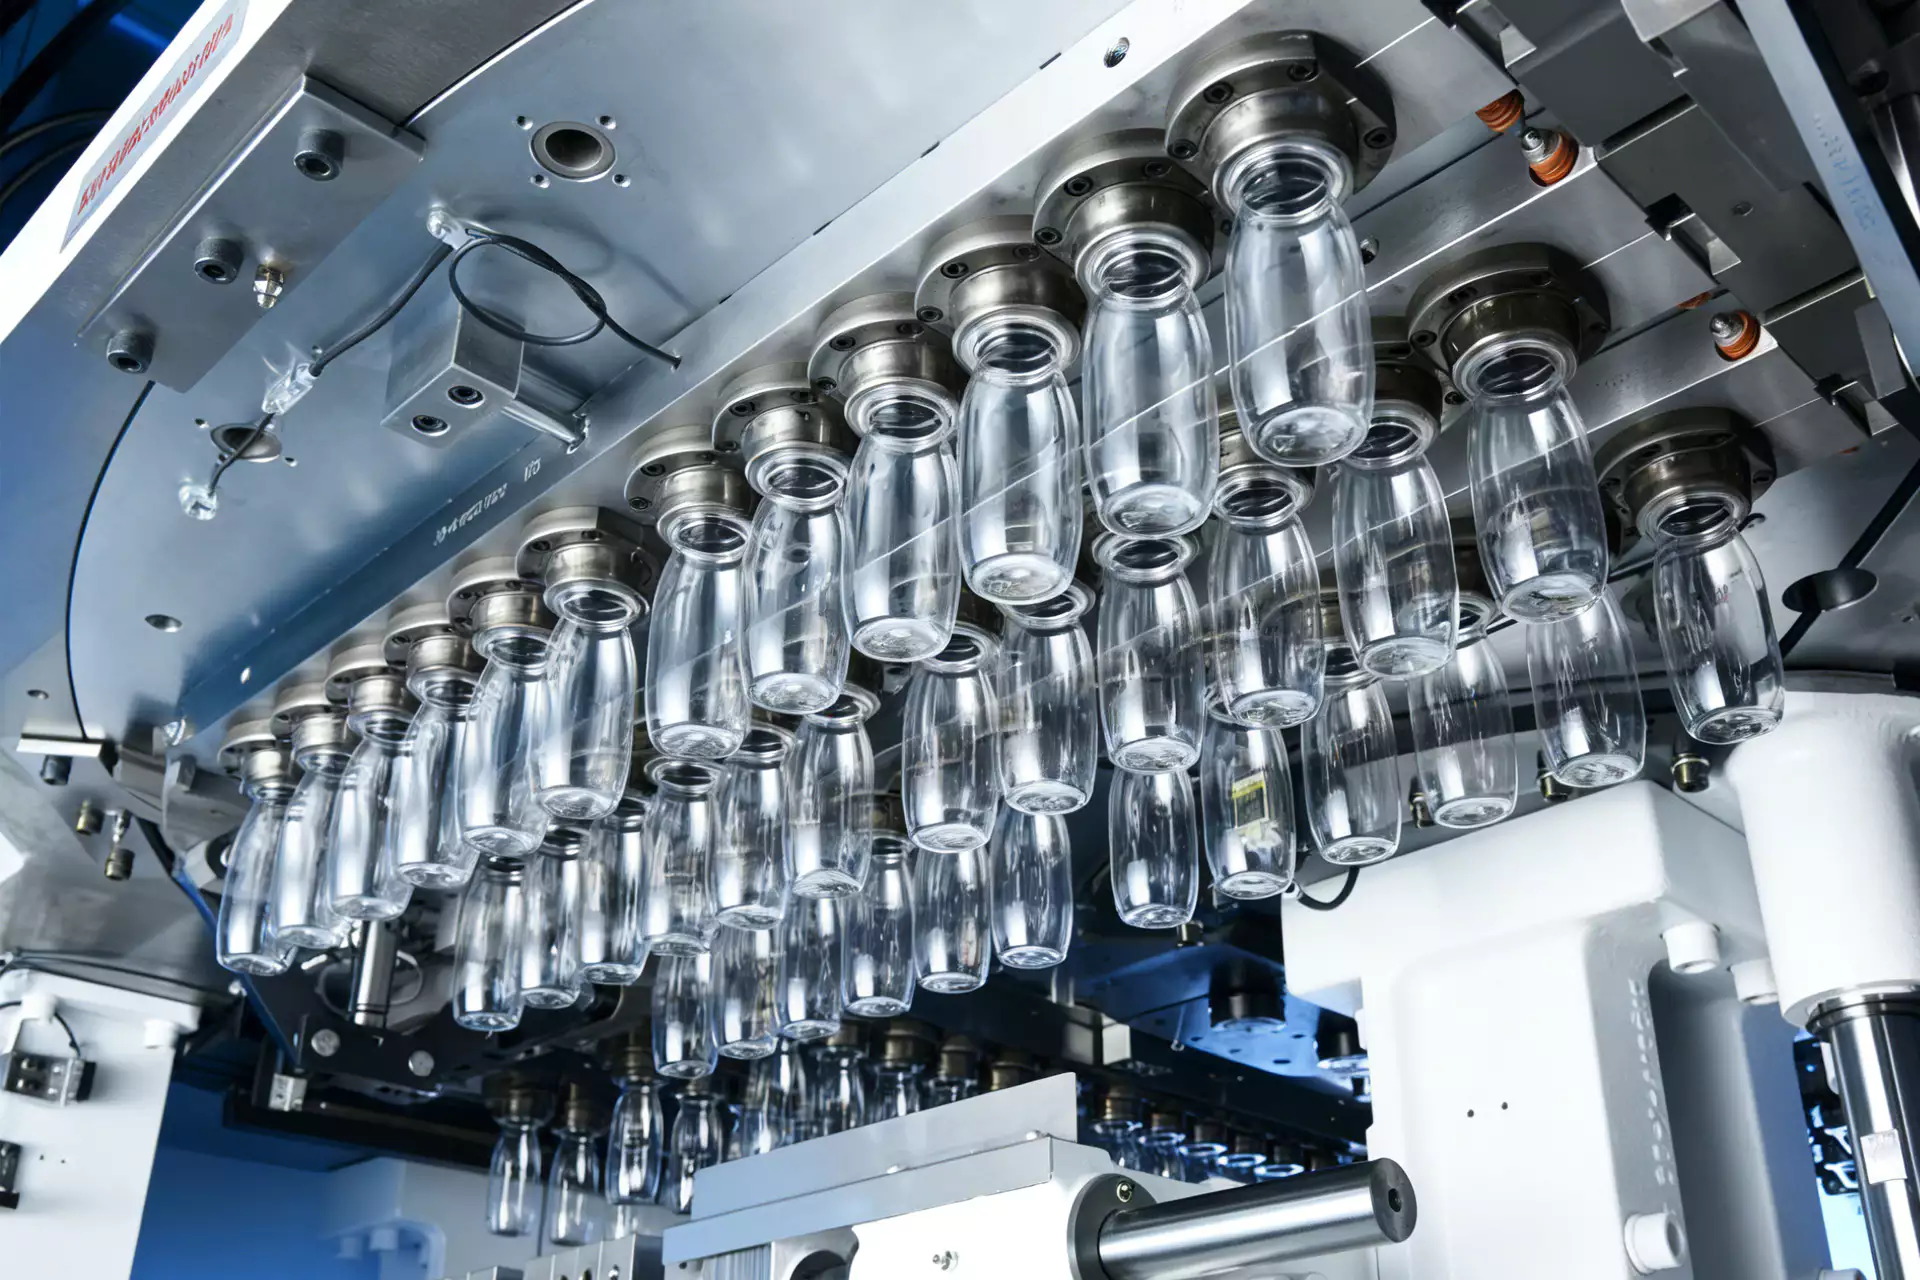
Kontrollflaskpresentation och belysning
Belysning
Belysning. Använd bakgrundsbelysning, ljusfält, mörkfält eller polariserade arrangemang för defekter på transparenta flaskor. Testa de verkliga hartsfärgerna och ytglansen. För belysning, definiera först defekten eller mätbeslutet och välj sedan sensorer, belysning eller logik som kan bevisa det. Håll belysningen vid dess validerade baslinje medan denna artikel testas så att flaskans respons kan tillskrivas en orsak. En belysningsinställning avslöjar sällan både svarta fläckar och subtila ytre repor lika bra.
Flaskans orientering
Flaskans orientering. Kontrollera rotation och position för ovala flaskor, logotyper, grindar eller asymmetriska paneler. Använd mekaniska styrningar eller spårningsfunktioner och verifiera repeterbarhet vid produktionshastighet. För flaskorientering, definiera först defekten eller mätbeslutet och välj sedan sensorer, belysning eller logik som kan bevisa det. Använd den minsta kontrollerade förändringen som kan bevisa effekten av flaskorientering och återställ sedan baslinjen innan en annan justering, såsom flaskorientering, försöks. Slumpmässig orientering orsakar falska kasseringar när systemet jämför fel region.
Arbetsvillkor för just denna uppgift
- Defektbibliotek
- Samla verkliga exempel på svarta fläckar, dis, grindmärken, blixtar, korta slag, deformation, repor och kontaminering.
- Inspektionstidpunkt
- Välj om du vill inspektera omedelbart efter gjutning, efter kylning, efter läckagetest eller före packning.
- Belysning
- Använd bakgrundsbelysning, ljusfält, mörkfält eller polariserade arrangemang för defekter i transparenta flaskor.
- Flaskans orientering
- Kontrollera rotation och position för ovala flaskor, logotyper, grindar eller asymmetriska paneler.
Inspektera hals, kropp, bas och grind separat
Halsinspektion
Halsinspektion. Kontrollera gäng-/snäppfinish, blixt, ovalitetsindikatorer och kontaminering med lämplig optik. Kombinera vision med mät- eller dimensionssensorer när absoluta dimensioner är kritiska. För halsinspektion, definiera först defekten eller mätbeslutet och välj sedan sensorer, belysning eller logik som kan bevisa det. Denna faktor hör hemma i installationsbladet eftersom den direkt förändrar förhållandena under vilka halsinspektion utvärderas. En visuellt ren hals kan fortfarande vara dimensionellt utanför toleransen.
| Punkt | Ingenjörsfråga | Praktisk verifiering |
|---|---|---|
| Defektbibliotek | Samla verkliga exempel på svarta fläckar, dis, grindmärken, blixtar, korta slag, deformation, repor och kontaminering. | Märk ut efter allvarlighetsgrad och kundspecifikation. |
| Inspektionstidpunkt | Välj om du vill inspektera omedelbart efter gjutning, efter kylning, efter läckagetest eller före packning. | Placera varje kontroll där defekten är stabil och flaskans presentation kontrolleras. |
| Belysning | Använd bakgrundsbelysning, ljusfält, mörkfält eller polariserade arrangemang för defekter i transparenta flaskor. | Testa de riktiga hartsfärgerna och ytglansen. |
| Flaskans orientering | Kontrollera rotation och position för ovala flaskor, logotyper, grindar eller asymmetriska paneler. | Använd mekaniska styrningar eller spårningsfunktioner och verifiera repeterbarheten vid produktionshastighet. |
| Halsinspektion | Kontrollera gänga/snäppfinish, blixt, ovalitetsindikatorer och kontaminering med lämplig optik. | Kombinera vision med mätare eller dimensionssensorer när absoluta dimensioner är avgörande. |
| Bas och grind | Inspektera grindcentrering, svarta fläckar, sprickor, basdeformation och fotgeometri. | Använd flera kameravinklar om djupa armhävningar döljer grinden. |
| Frigöringsvillkor | Utmana systemet med kända defektmängder och kvantifiera falska kassations- och escape-frekvenser över olika SKU:er. Upprepa efter ändringar i belysning, kamera, flaska eller programvara. | |
Lägg till dimensionella eller läckagetester där sikten inte är tillräcklig
Bas och grind
Bas och grind. Inspektera grindens centrering, svarta fläckar, sprickor, basdeformation och fotens geometri. Använd flera kameravinklar om djupa push-up-funktioner döljer grinden. För bas och grind, definiera först defekten eller mätbeslutet och välj sedan sensorer, belysning eller logik som kan bevisa det. Om resultatet skiljer sig åt mellan kaviteterna, jämför den lokala hårdvaran relaterad till bas och grind innan du går vidare till bas och grind. En enda toppkamera kan missa en defekt på en infälld bas.
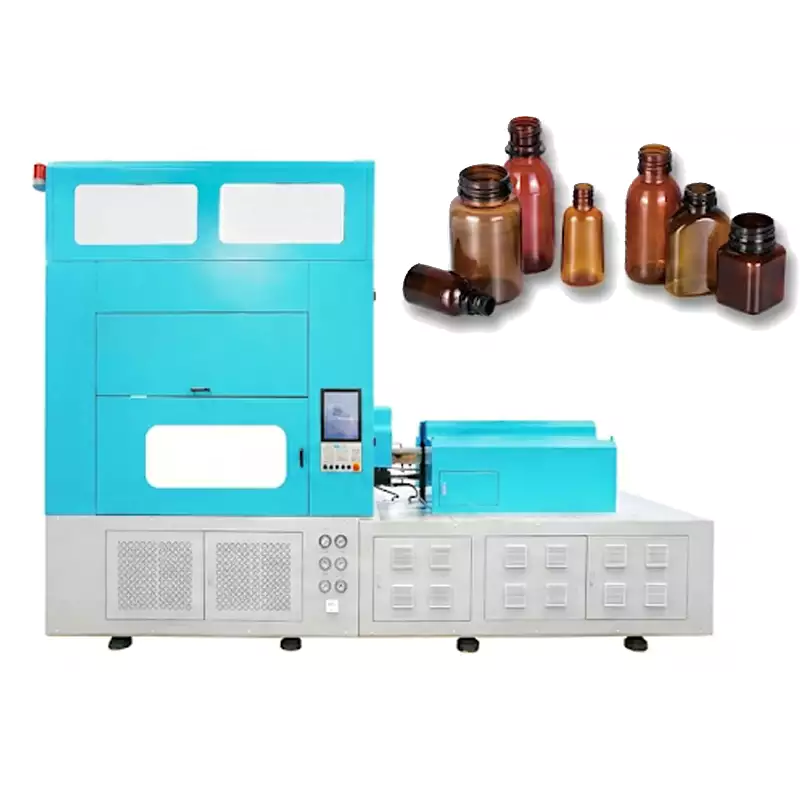
De översikt över ISBM-plattformen för flera material hjälper också till att utforma hur maskinarkitektur, material, verktyg och flaskapplikationer passar ihop på linjenivå.
Koppla defekter till kavitet och recept
Kroppsinspektion
Kroppsinspektion. Detektera färg, dis, kortslutning, paneldeformation och främmande partiklar inom det optiska systemets praktiska gränser. Lär systemet med hjälp av verkliga bra/dåliga fördelningar snarare än endast perfekta CAD-bilder. För karossinspektion, definiera först defekten eller mätbeslutet och välj sedan sensorer, belysning eller logik som kan bevisa det. Denna punkt anses vara löst endast när fyndet förblir repeterbart efter termisk stabilisering och nästa kontroll, karossinspektion, inte motsäger det. Transparenta väggar och reflektioner kan skapa falska kanter som förvirrar enkel tröskelbestämning.
Spårbarhet av kavitet
Spårbarhet av kavitet. Associera varje flaska med formkaviteten där maskin och hanteringssekvens tillåter det. Trenda defektfrekvensen per kavitet. För spårbarhet av kaviteten, definiera först defekten eller mätbeslutet och välj sedan sensorer, belysning eller logik som kan bevisa det. För repeterbarhet, definiera vem som mäter kavitetens spårbarhet, var den mäts och vilka flaskbevis som krävs innan kavitetens spårbarhet kontrolleras. Vision utan kavitetsdata identifierar skrot men missar möjligheten att reparera källan snabbt.
Logik för designavvisning och verifiering
Avvisningsmekanism
Avvisningsmekanism. Använd en bekräftad utsorteringsåtgärd och sensor för att verifiera att den dåliga flaskan lämnar det goda flödet. Konstruera för maximal linjehastighet och flaskvariation. För utsorteringsmekanismen, definiera först defekten eller mätbeslutet och välj sedan sensorer, belysning eller logik som kan bevisa det. Registrera flaskans svar bredvid inställningen eller mätningen för utsorteringsmekanismen; den registreringen blir startvillkoret när utsorteringsmekanismen granskas. En korrekt inspektion är värdelös om utsorteringsgrinden ibland missar.
Validera falska avslag, escapes och växlingar
Godkännande
Godkännande. Utmana systemet med kända defektmängder och kvantifiera falska kasserings- och escape-frekvenser över olika SKU:er. Upprepa efter ändringar i belysning, kamera, flaska eller programvara. För validering, definiera först defekten eller mätbeslutet och välj sedan sensorer, belysning eller logik som kan bevisa det. Om symptomet eller prestandamålet inte rör sig som förutspått, återställ valideringen till baslinjen och undersök validering snarare än att stapla korrigeringar. Ett visionssystem som inte utmanas systematiskt kan avvika från kundens kvalitetsstandard.
Avvisningsmekanism: släpp bevis
Använd en bekräftad utsorteringsåtgärd och sensor för att verifiera att den dåliga flaskan lämnar det goda flödet. Konstruera för maximal linjehastighet och flaskvariation. Tillståndet accepteras endast när relevant flaskmätning eller funktionstest förblir stabilt efter att processen når normal driftstemperatur.
Validering: felgräns
Ett visionssystem som inte utmanas systematiskt kan avvika från kundens kvalitetsstandard. Använd det felläget som gräns för testet och återgå till det tidigare stabila tillståndet när flaskans respons rör sig i fel riktning.
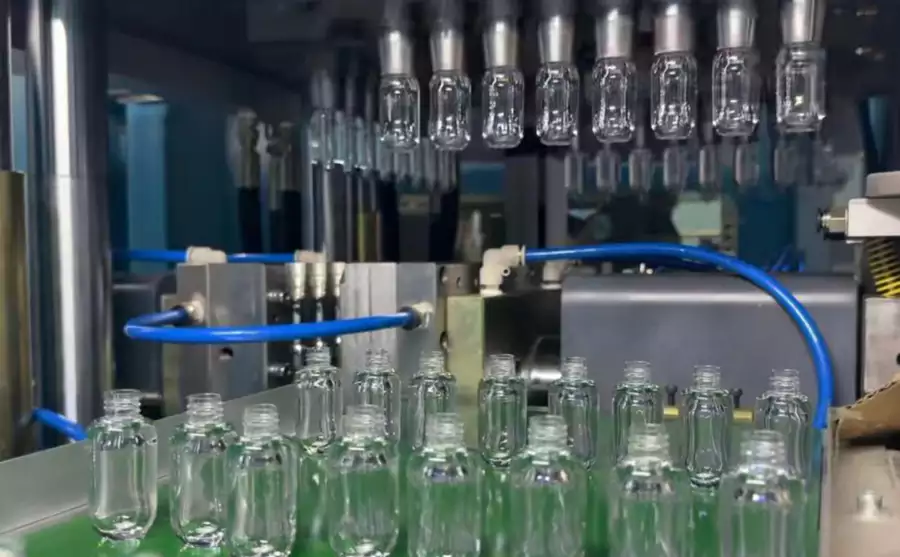
När man översätter kravet till hårdvara, HGY50-V3-EV maskinkonfiguration illustrerar hur injektion, termisk konditionering, sträckblåsningsrörelse och hantering är organiserade på en kompakt plattform i ett steg.
Frågor som uppstår specifikt i Hur man automatiserar ISBM-flaskkvalitetsinspektion
Kan vision mäta väggtjocklek?
Standardvision är inte en direkt ersättning för dedikerad tjockleksmätning. Använd den avkänningsmetod som är lämplig för den kritiska egenskapen.
Varför inspektera per hålrum?
Hålrumstrender omvandlar inspektionsdata till underhållsinformation, vilket hjälper till att lokalisera problem med mögel, kylning, ventiler eller stång.
Hur minskar jag antalet falska kasseringar på genomskinliga flaskor?
Stabilisera presentation och belysning först, finjustera sedan algoritmerna med hjälp av representativa bra och dåliga exempel.
Ska inspektionen ske direkt efter utkastning?
Endast om defekten redan är stabil. Vissa dimensions- eller basproblem uppstår när flaskan svalnar, så inspektionsplatsen bör matcha felläget.
Vad bevisar att synsystemet fungerar?
Ett dokumenterat utmaningstest med kända defekter, flera SKU:er och verifiering av både avvisade och accepterade flaskor.
Praktisk slutsats
Ett robust svar på frågan om hur man automatiserar ISBM-flaskkvalitetsinspektion bör överleva en omstart och en fullständig termisk stabiliseringsperiod. Installationsposten bör därför koppla defektbiblioteket till bas och grind samt flaskans resultat från valideringen. En enda toppkamera kan missa en defekt på en infälld bas.